How to Get a Google Cloud Vision API Key: A Step-by-Step Guide

- Those looking to streamline their workflow using image recognition technology.
- Anyone spending too much time manually extracting information from images.
Have you ever wanted to make extracting information from images or documents more efficient?
For example, manually inputting details from business cards can be tedious, and digitizing handwritten notes often takes up too much time.
This is where Google Cloud Vision API comes in handy.
With this tool, you can easily perform text recognition and object detection from images, automating various business processes.
In this article, we’ll walk you through the steps to obtain an API key for using Google Cloud Vision API.
What You Can Do with Google Cloud Vision API
- Text Recognition (OCR):
Extract text from images or PDF files and convert it into digital text for further use. - Label Detection:
Identify objects and scenes within an image and retrieve relevant labels (keywords).
For example, analyzing a landscape photo with label detection might return keywords like “mountain,” “river,” “nature,” and “blue sky.” - Additionally, the API supports features like facial recognition, landmark detection, and logo detection.
The Google Vision API is a powerful tool for image recognition.
With this API, you can perform tasks such as extracting text from images, recognizing objects, or detecting faces.
For example, you can use it to extract text from scanned business cards and organize the information in a spreadsheet, making it an excellent resource for streamlining workflows and improving efficiency.
How to Get a Google Cloud Vision API Key
Here, we’ll explain the steps to get a Google Cloud Vision API key.
Creating a Project and Enabling the Google Cloud Vision API
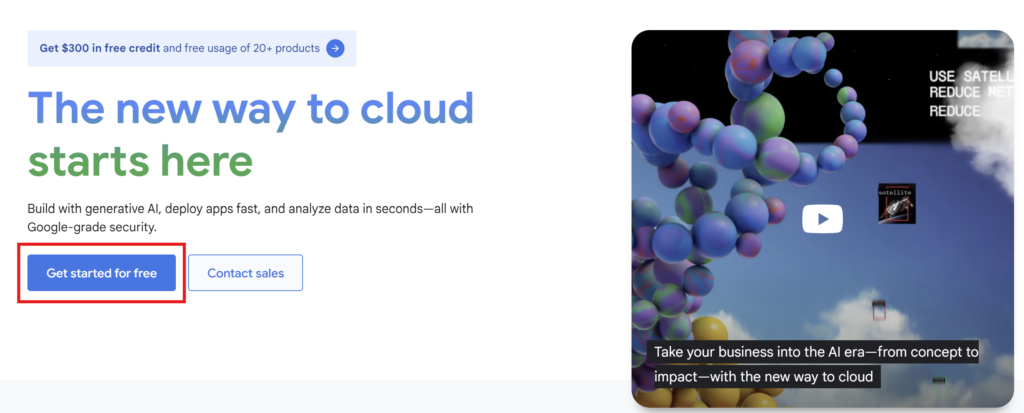
Access the Google Cloud Platform (GCP) and create an account.
Click on “Get Started for Free” to begin.
New users are offered $300 in free credits, allowing you to explore the platform without any initial cost.
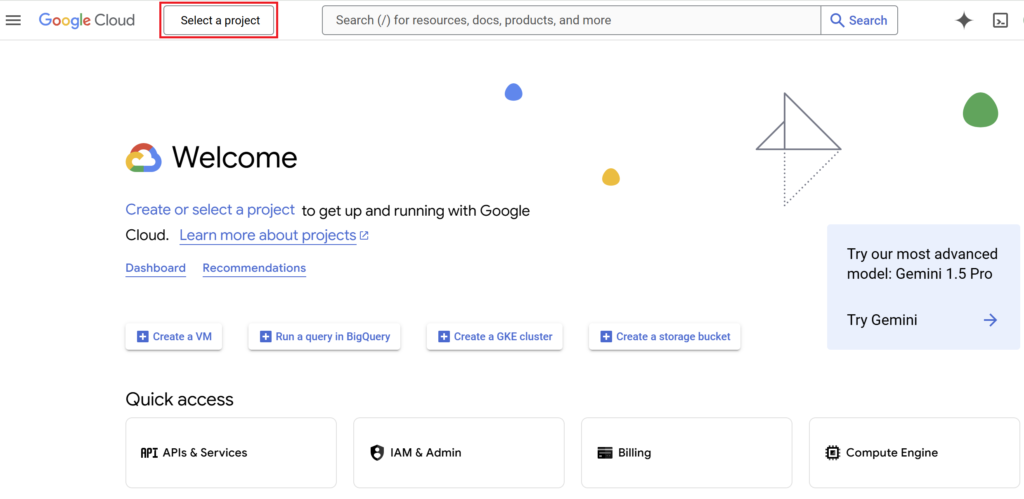
After logging in, click on “Select a Project” located in the top-left corner of the screen.
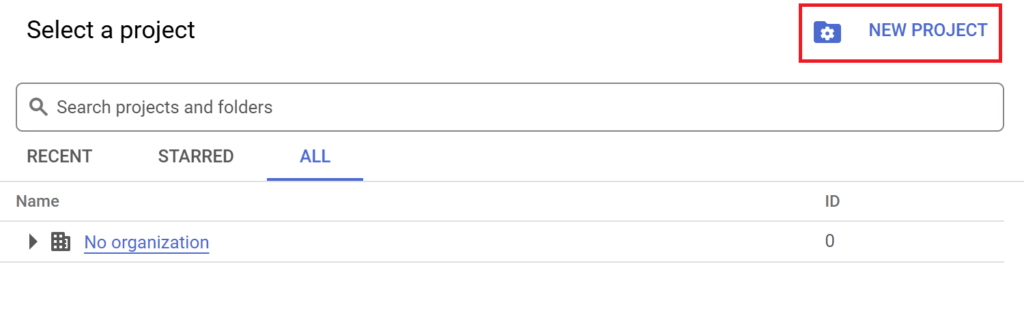
Click on “New Project” to create a new project.

Enter a project name and click the “Create” button.
The project name is pre-filled by default, but you can change it to any name you prefer.
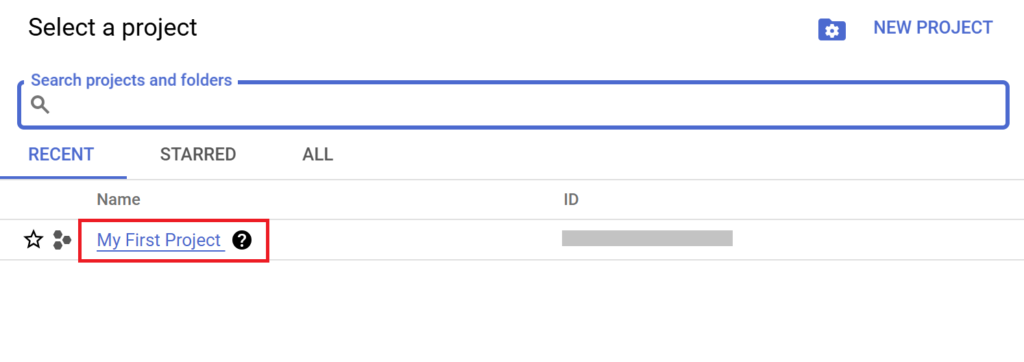
Go to “Select a Project” and choose the project you just created.
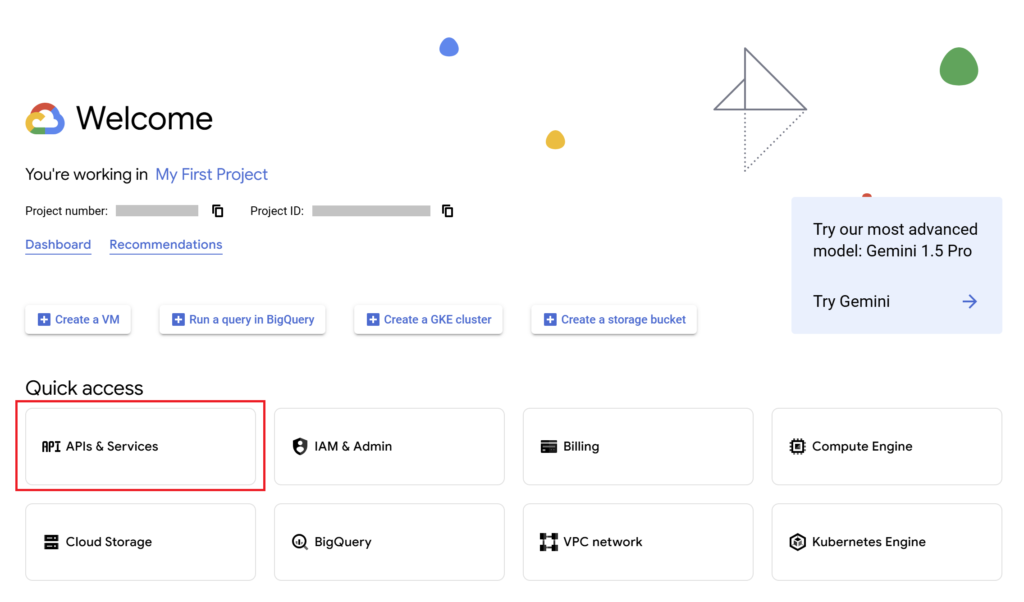
After selecting your project, click on “APIs & Services” from the menu.
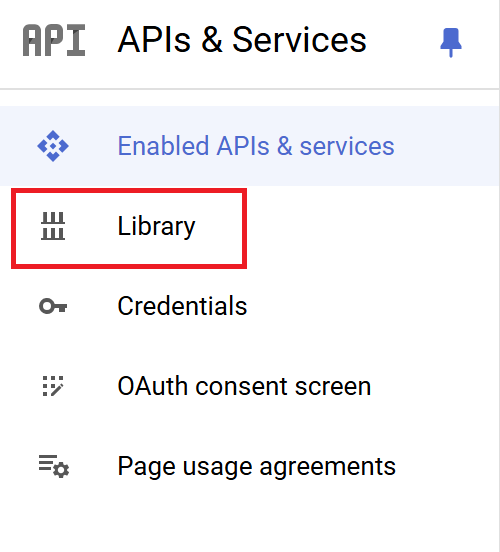
Next, click on “Library” under the APIs & Services section.
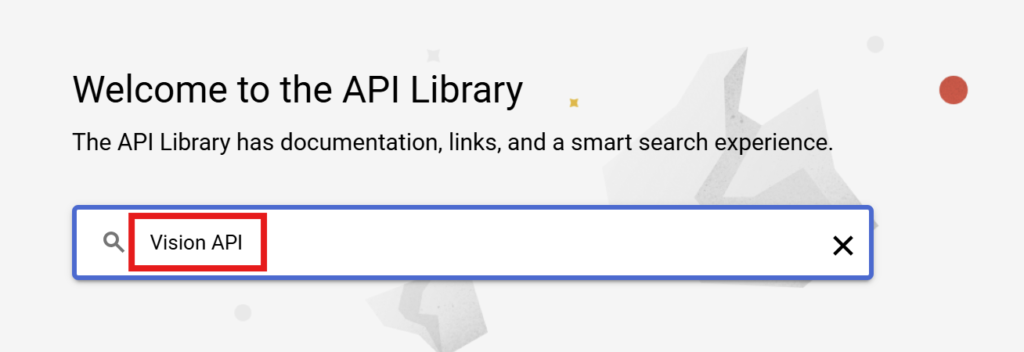
Use the search bar to look for “Vision API“.
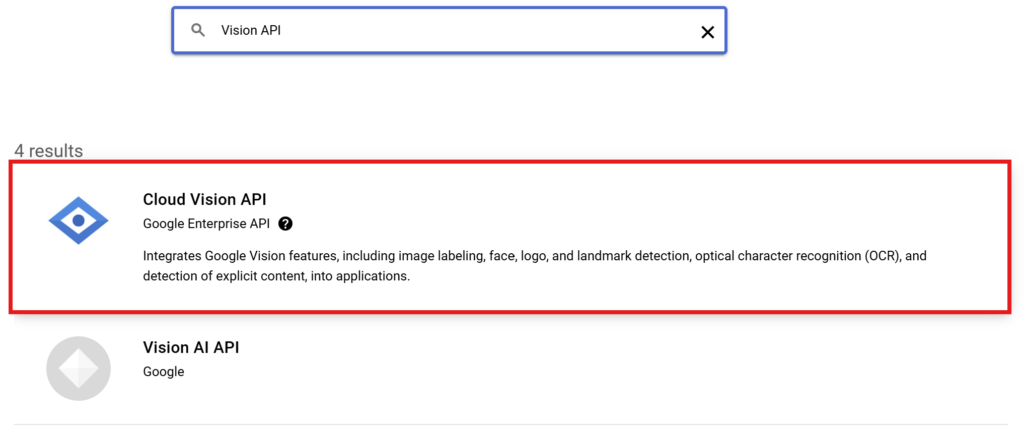
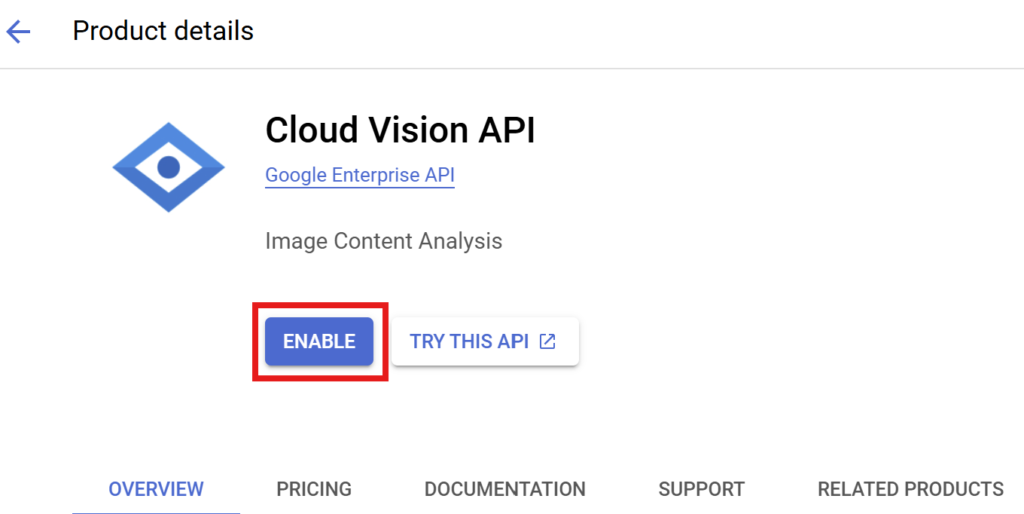
From the search results, select “Cloud Vision API”.
Click the “Enable” button to activate the API.
Configuring the OAuth Consent Screen
Before creating API credentials, you need to configure the OAuth consent screen.
The OAuth consent screen is displayed when users access your application.
On this screen, you inform users about the data your application will access and obtain their consent.
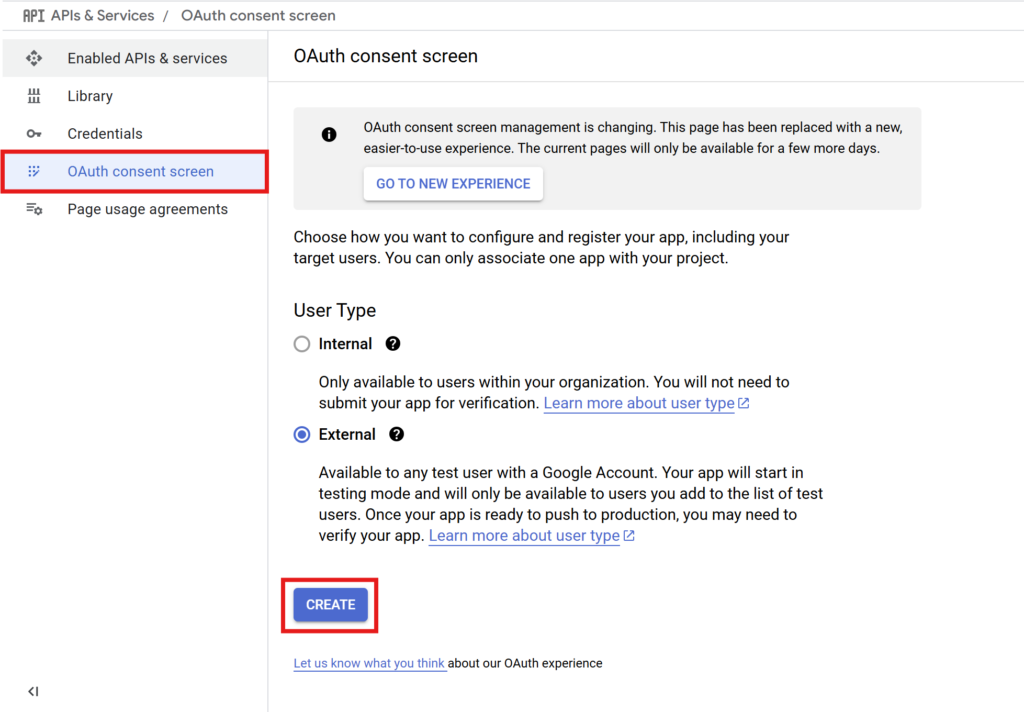
In the GCP Console, navigate to “APIs & Services” > “OAuth consent screen”.Select the user type as Internal or External, then click “Create”.
(If you are not a Google Workspace user, only the External option will be available.)
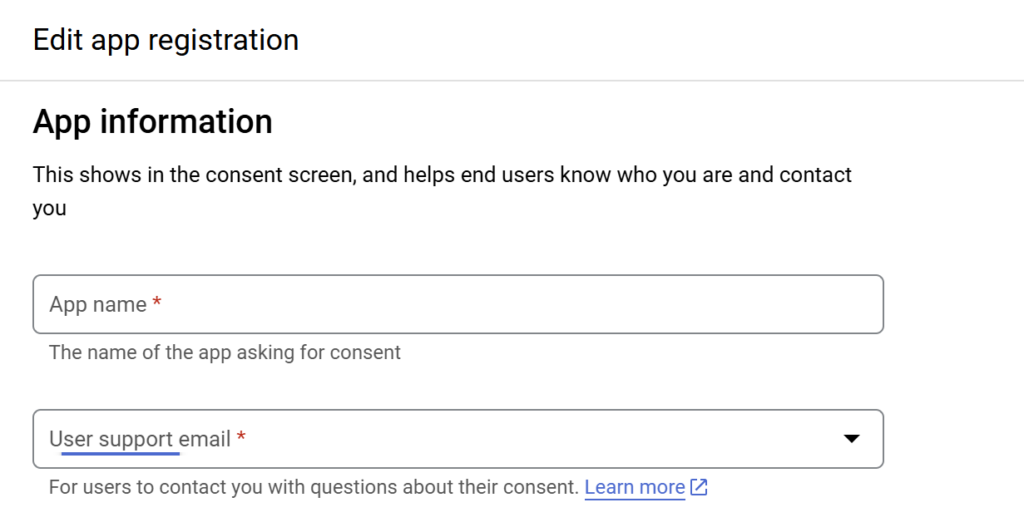
Provide details such as the application name, support email, and the scopes you want users to see.
The following fields are required:
- App Name: Enter a name of your choice.
- User Support Email: Specify an email address for user support.
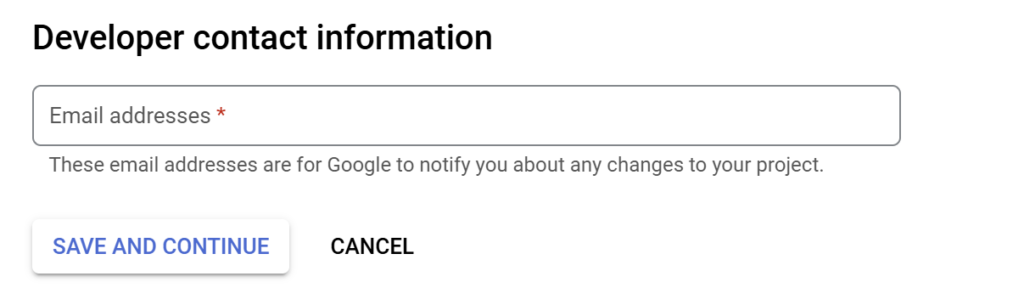
- Developer Contact Information: Provide a valid email address.
Once you’ve entered the information, click “Save and Continue”.
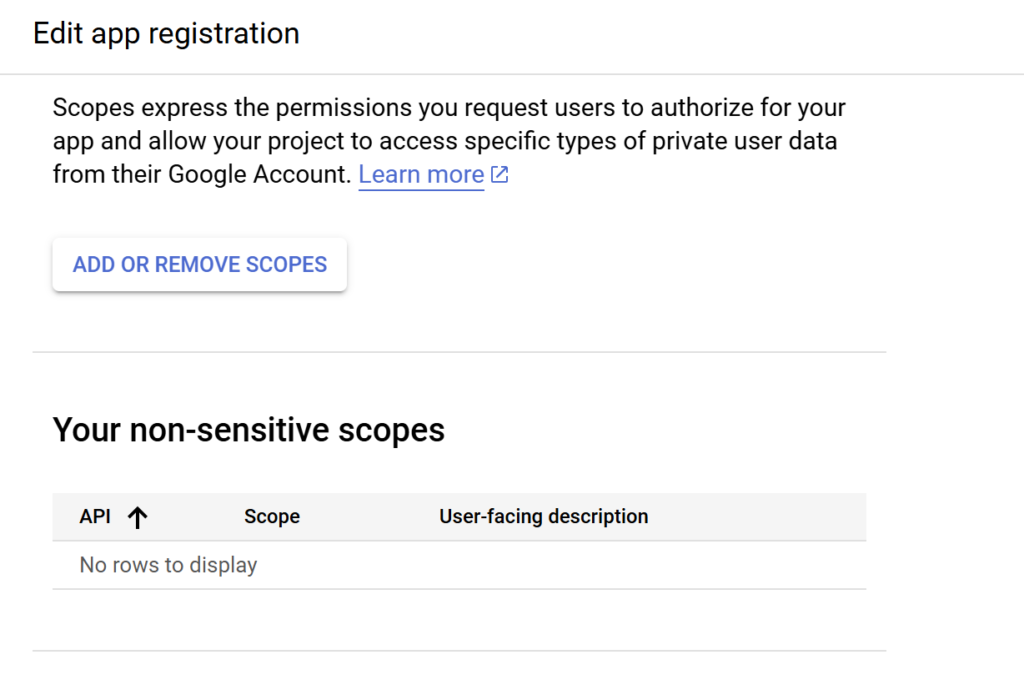
Scopes can be added later, so for the initial setup, you can proceed without entering any scopes.
Simply click “Save and Continue” to move forward with the setup and proceed to obtain your API key.
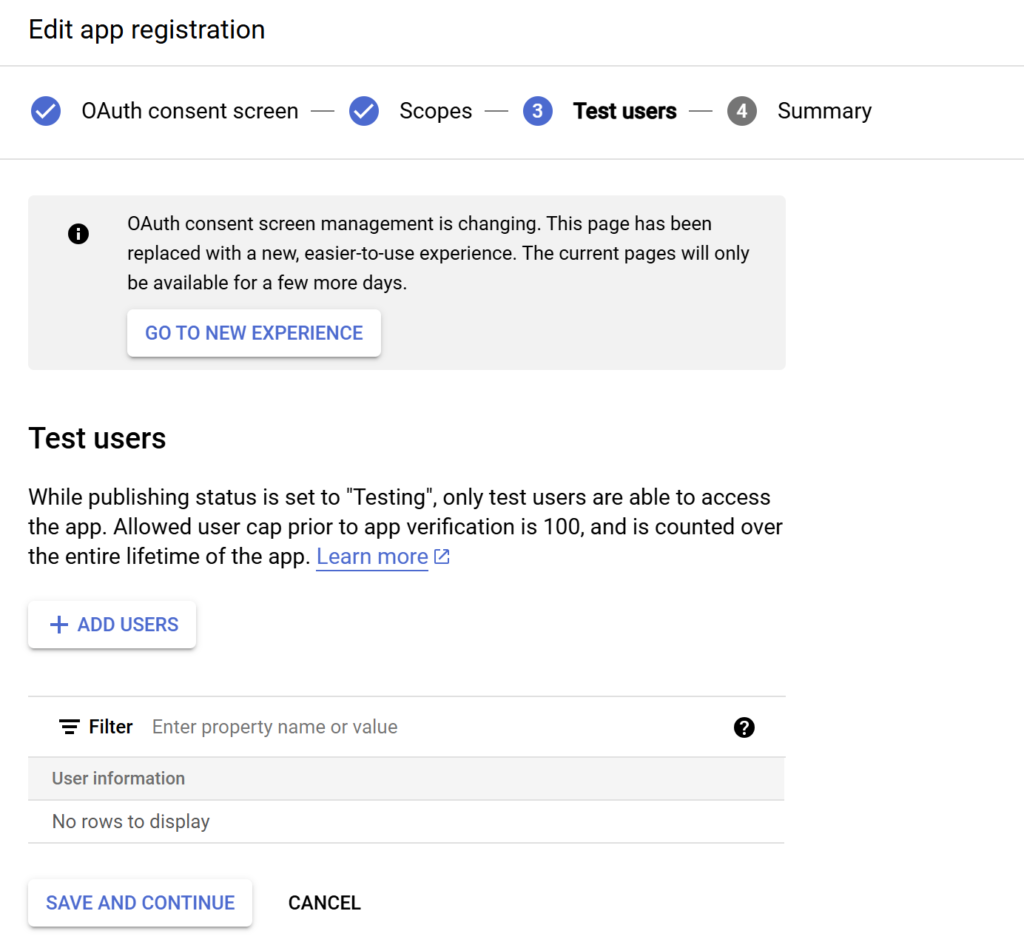
The “Test Users” section allows you to specify users who can access the application while the publishing status is set to “Testing.”
This step is optional for internal applications but is required if you want to limit access to specific users during the testing phase.
Click “Save and Continue” to proceed.
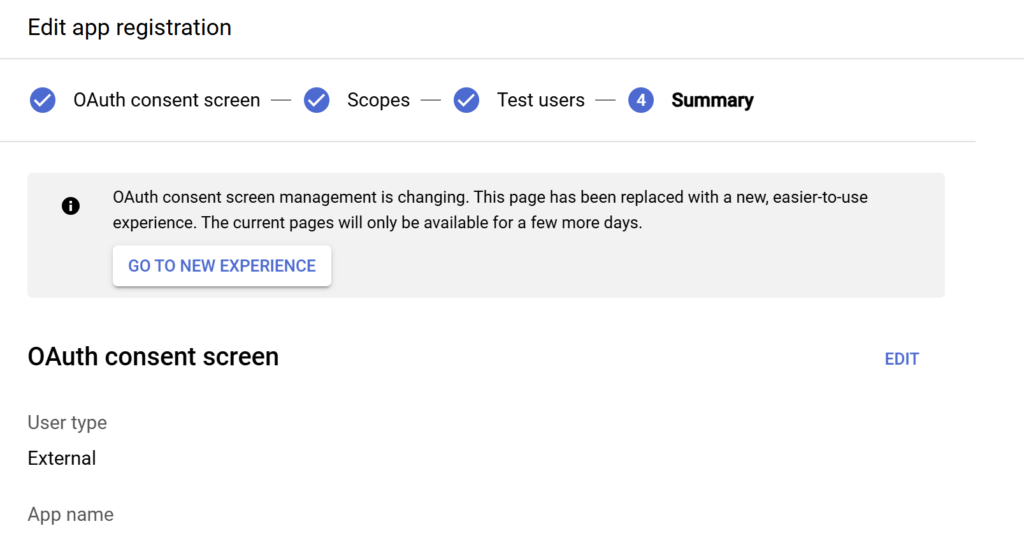
Review the information you’ve entered, then click “Back to Dashboard”.
OAuth 同意画面はこれで完了です。
Obtaining the API Key
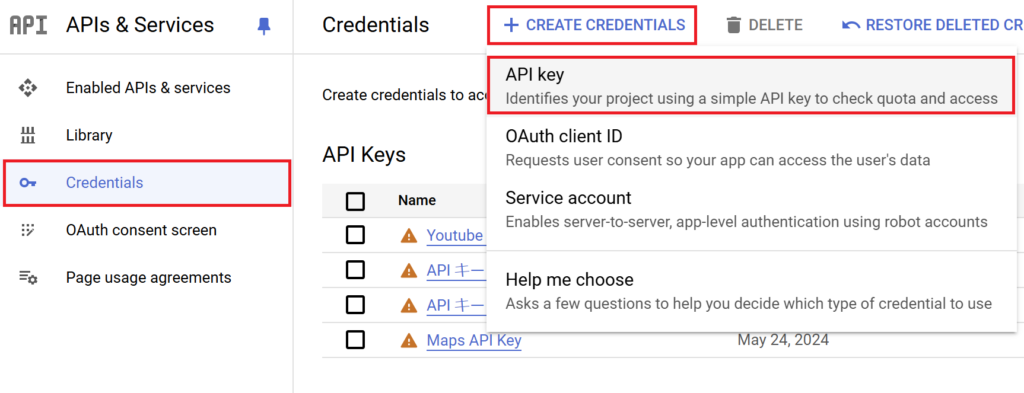
Go to “APIs & Services” > “Credentials” in the menu, then select “Create Credentials” > “API Key”.
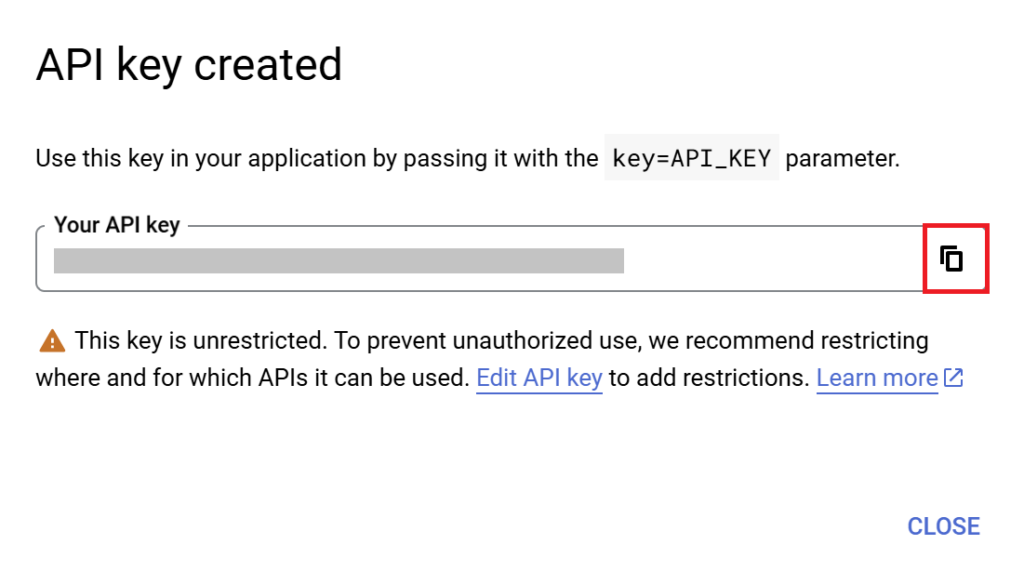
Copy the generated API key.
Save it securely for later use in Google Apps Script or other integrations.
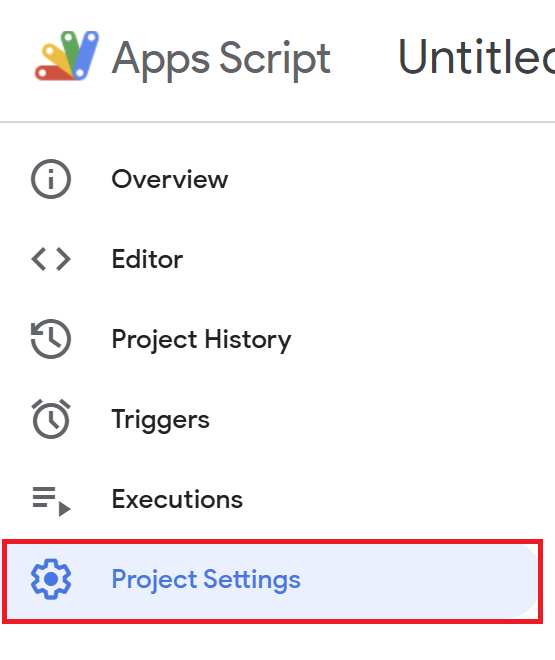
In the Google Apps Script editor, select “Project Settings”.
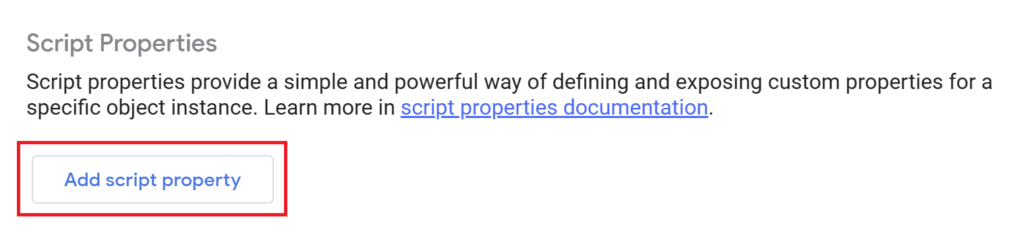
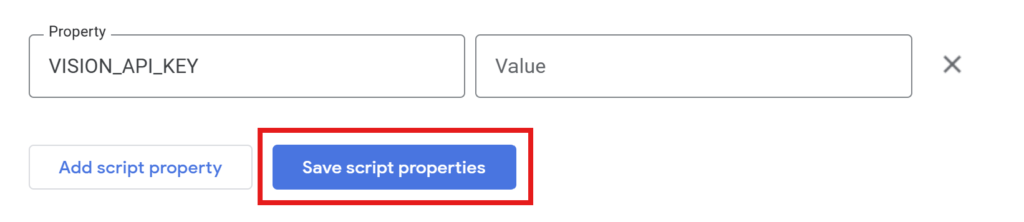
Select “Add Script Property”, then enter the key name (e.g., "VISION_API_KEY") and paste the API key.
Once entered, click “Save Script Property”.
Managing API Keys
Save the API key in the Script Properties of Google Apps Script.
Script Properties allow you to store key-value pairs for use within your script.
By avoiding hardcoding sensitive data like API keys directly in your code, this approach helps minimize the risk of exposing them to unauthorized access.
About Vision API Pricing
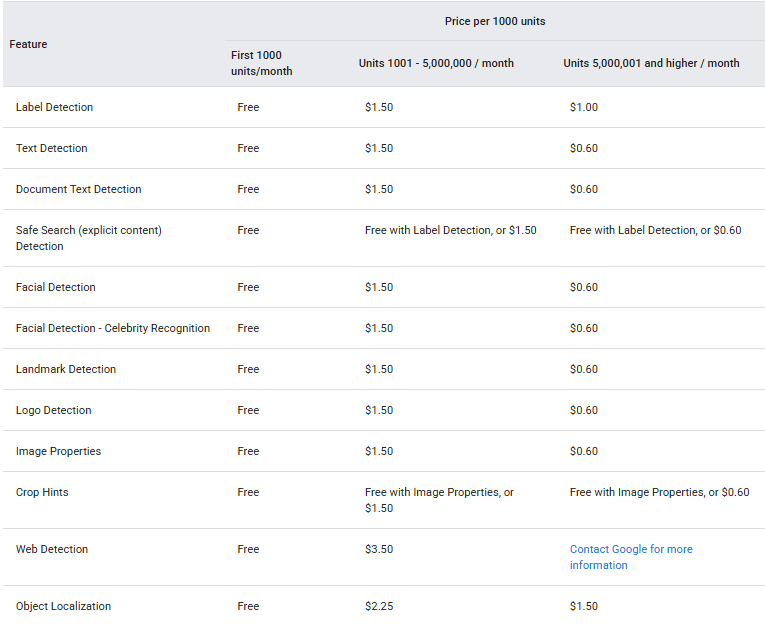
Google Cloud Vision API uses a usage-based pricing model.
A free tier is available, allowing you to use the service without incurring costs as long as your usage remains within the monthly free quota.
However, if your usage exceeds the free tier, pay-as-you-go charges will apply.
For detailed information, you can check the pricing page on the Google Cloud Platform (GCP) Console.
Conclusion
You have now successfully obtained your Google Cloud Vision API key.
In the next article, we’ll explain how to call this API using Google Apps Script (GAS) to extract text from business card images and transfer it to a Google Sheet.
Our company offers support for improving work efficiency through the use of Google Apps Script.
If you need assistance with Google Apps Script customization or error resolution, please feel free to contact us.
We are fully committed to supporting your business improvements.
Contact us here
- 3 Easy Ways to Convert Coordinates to DMS in Google Sheets
- Streamline Business Card Digitization with OCR and Google Apps Script: Save Time on Spreadsheet Data Entry
関連記事
-
 How to Get a Google Maps API Key: Retrieve Latitude and Longitude from Addresses in Google Sheets
 -
How to Track Email Link Click-Through Rates with Google Analytics
-
Simplify URL Shortening: Create and Copy Short URLs with a Single Click Using Chrome Extensions
-
How to Generate Barcodes Easily: A Step-by-Step Guide Using Google Sheets
-
How to Get Slack Webhook URL: Automate Notifications with External Integration
-
Automate eBay Order Tracking: Use Zapier to Automatically Record Data in Google Sheets
-
Effortlessly Unhide and Delete Hidden Sheets in Google Sheets All at Once!

Comments