Have you ever wanted an easy and cost-effective way to check click-through rates for your newsletters or survey emails?
Knowing which links are clicked and how often can help improve your content and enhance targeting accuracy for future campaigns.
In this article, we’ll show you how to measure email link click-through rates using Google Analytics.
While there are many tools available for tracking email click-through rates, Google Analytics allows you to access this data for free.
TOC
How to Measure Click-Through Rates with Google Analytics
Create links using the Campaign URL Builder
Embed the links in your email
Check click-through rates in Google Analytics
With Google Analytics, you can track how many times links in your email are clicked.
To do this, use Google’s Campaign URL Builder to add UTM parameters (special codes for tracking user behavior) to your links. Then, embed these links into your email.
When users click on the links, the information is sent to Google Analytics, allowing you to monitor click-through rates effectively.
Steps
Create Links Using the Campaign URL Builder
To track click-through rates, start by creating links using Google’s Campaign URL Builder.
Add the following UTM parameters to the link you want to track:
Website URL
Enter the URL of the website where you want to send traffic. (Example: https://example.com)
Campaign ID (Optional)
This is used to further distinguish specific campaigns, but it is not required for basic click tracking.
Campaign Source
Enter the value indicating the traffic source. (Example: newsletter)
This helps identify the source of the email traffic.
You can input the value in languages other than English without any issues.
Campaign Medium
Enter the type of medium. (Example: Email)
This indicates that the traffic originates from email.
Campaign Name
Enter the campaign name. (Example: Test)
While this is not a required field, adding a campaign name makes it easier to identify which campaign the traffic originates from in Google Analytics.
This is especially helpful when running multiple campaigns simultaneously, as it allows for clear differentiation.
Campaign Item (Optional)
This is additional information to help identify the campaign (optional).
Use it when you want to track specific items or promotions.
Campaign Content (Optional)
It is particularly useful for tracking A/B tests or different link variations.
This field is also optional.
STEP
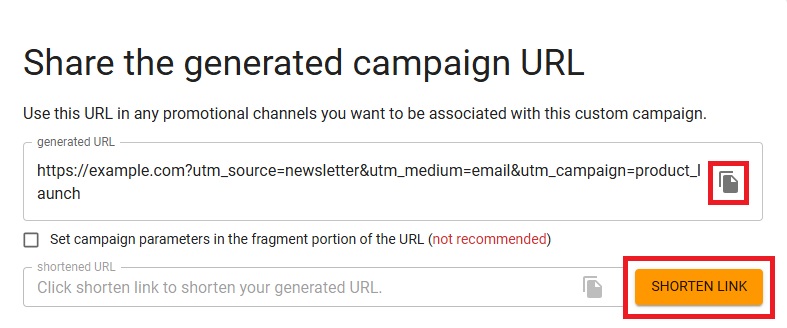
Copy the Generated Link
Once all fields are completed, the link with UTM parameters will be automatically generated.
Use the Copy button next to the link to easily copy it.
You can also create a shortened link by clicking the Shorten Link button.
Using a shortened link makes the URL more compact, improving the appearance of your email.
Embed the Link in Your Email
Next, embed the link generated by the Campaign URL Builder into the body of your email.
For example, you can set the link to anchor text such as “Learn More” or “Click Here.”
When readers click the link, the data will be sent to Google Analytics, allowing you to track the traffic.
STEP
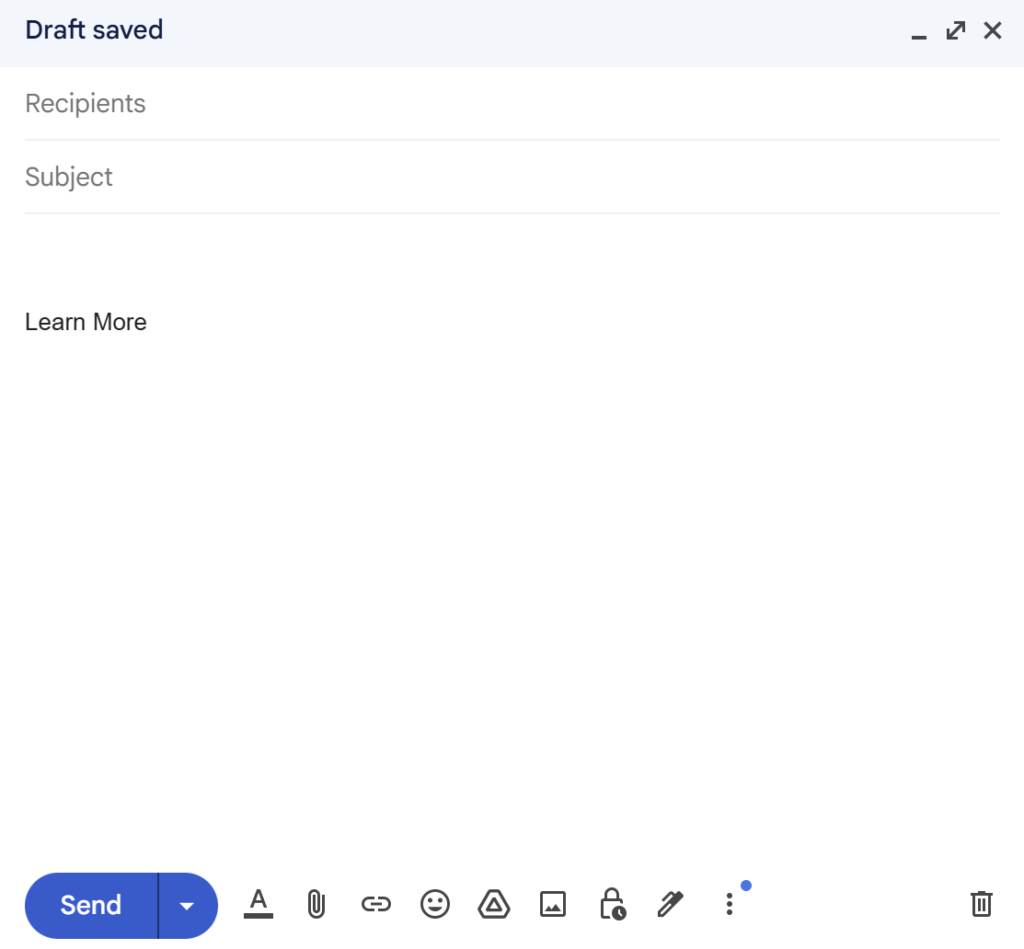
Open the Email Composer
Open the email composer.
STEP
Create Anchor Text
Create anchor text in the section where you want to encourage clicks.
(Example: “Learn More”)
STEP
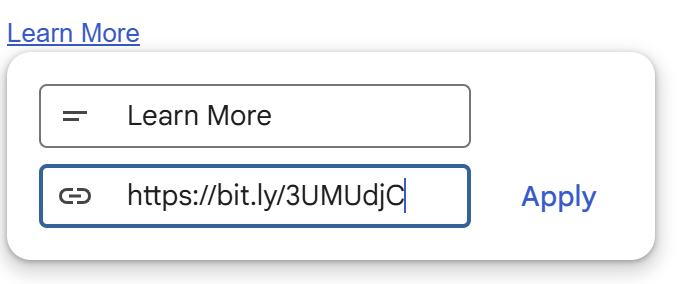
Set the Hyperlink
Add a hyperlink to the anchor text.
While the text is selected, press “Ctrl + K” (or “Cmd + K” on Mac) to open the hyperlink settings.
Paste the previously generated UTM parameter link into the field.
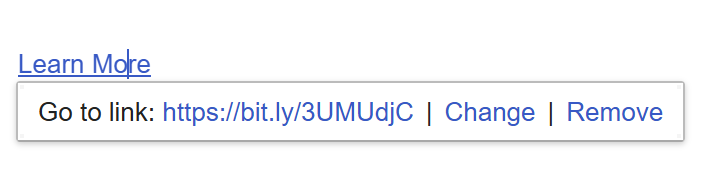
STEP
Send the Email
Once the hyperlink is set and the email is complete, send it.
Check Click-Through Rates in Google Analytics
After sending the email with the embedded link, you can review the click-through rate data in Google Analytics.
STEP
Log in to Google Analytics
Log in to Google Analytics and access the property for the relevant website.
4o
STEP
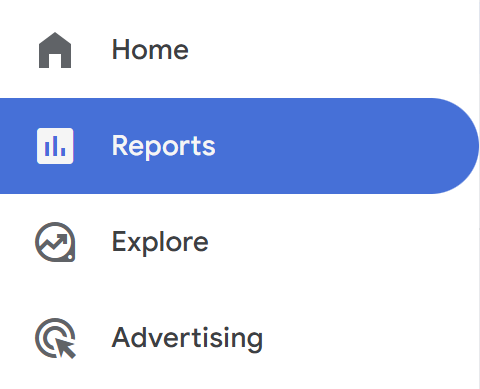
Select Reports
From the left menu, select “Reports.”
STEP
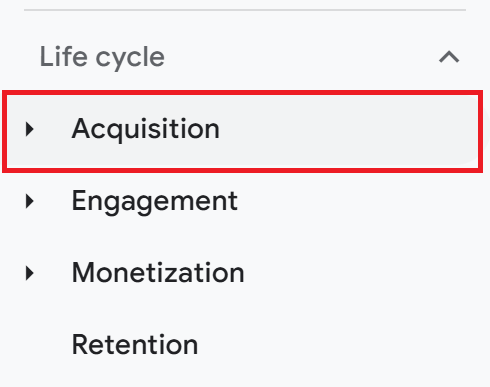
Select Acquisition
Within the Reports section, navigate to “Lifecycle” > “Acquisition.”
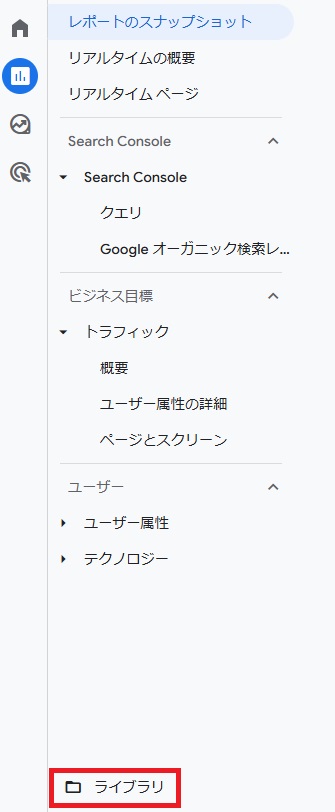
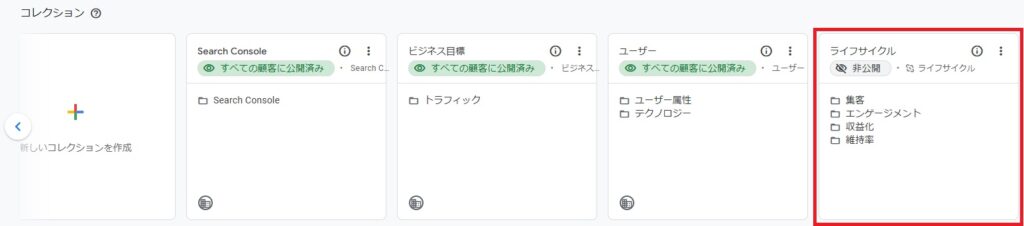
If “Lifecycle” Is Not Displayed
Open “Reports” from the left menu.
Select “Library” below the Reports section.
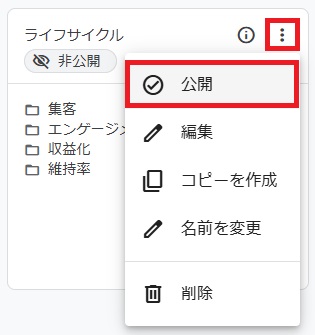
Click the “︙” (three dots) next to the desired report and choose “Publish.”
STEP
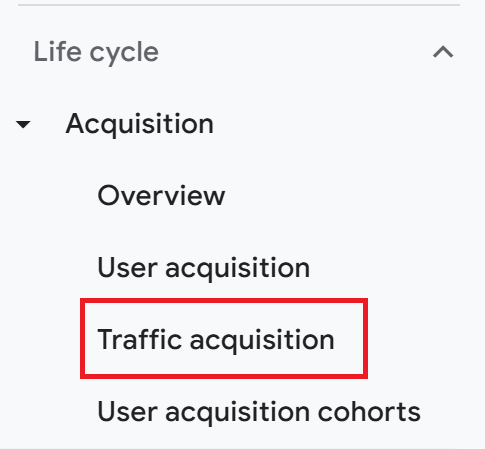
Select Traffic Acquisition
Click on “Traffic Acquisition.”
STEP
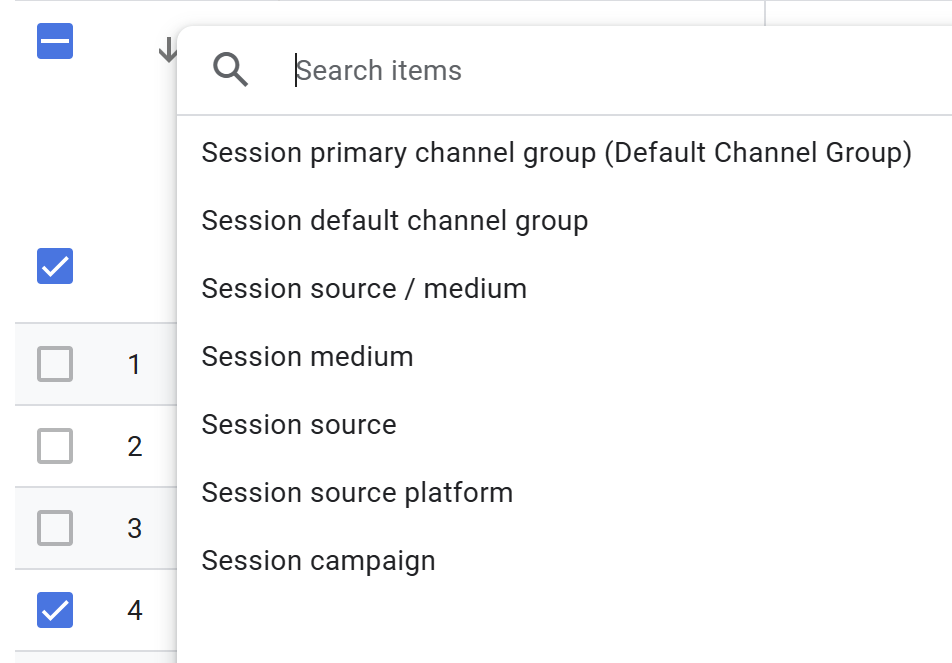
Review Traffic Data
You can review the traffic data based on the campaign you created.
Conclusion
Tracking the click-through rates of links in emails allows you to quantitatively measure the effectiveness of your email marketing efforts.
Using Google Analytics to measure click-through rates offers the advantage of being completely free.
However, email marketing tools like Mailchimp or Benchmark Email provide additional insights, such as open rates and other detailed metrics, making it easier to access comprehensive data.
If you need quick and detailed analytics, these tools can be a convenient option.
Consider using Google Analytics and email marketing tools as needed, depending on your specific situation and goals.
Our company offers support for improving work efficiency through the use of Google Apps Script. If you need assistance with Google Apps Script customization or error resolution, please feel free to contact us. We are fully committed to supporting your business improvements.


Comments