In previous articles, we introduced how to modify access permissions and bulk copy files within a folder using Google Apps Script. This time, we’ll explain how to bulk delete files in Google Drive.
Using two Google Apps Scripts, you can list files within a folder or across your entire Drive and efficiently delete unnecessary ones in bulk.
Manually deleting files one by one in Google Drive can be time-consuming, but with this method, you can streamline the process and save time.
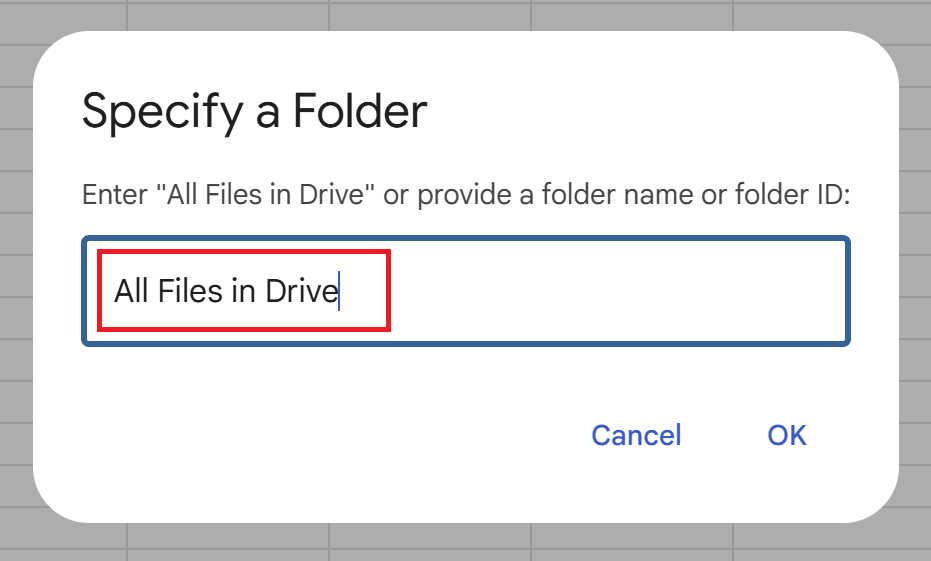
Specify a folder name or ID to list target files in a spreadsheet.
Select files for deletion using checkboxes and execute bulk deletion.
Record a history of deleted files for reference.
This script moves files in Google Drive to the Trash, so they are not permanently deleted. To completely remove the files, you will need to manually empty the Trash in Google Drive as needed.
Steps
Script 1: File Listing
This script lists the files you want to delete, allowing you to select which files to remove.
STEP
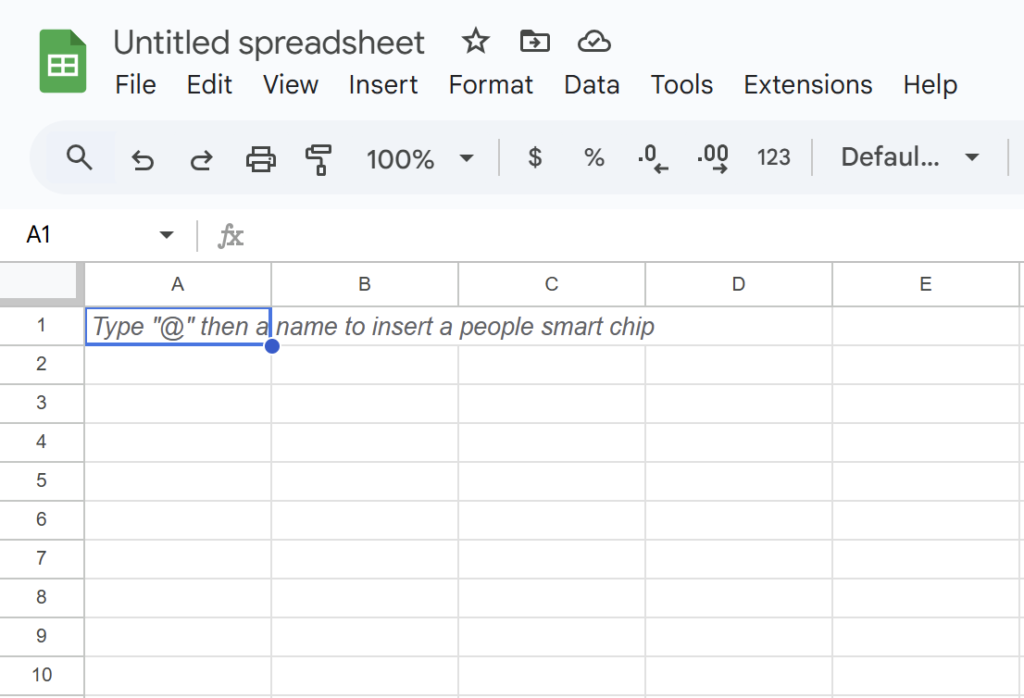
Open the Spreadsheet
Open a Google Spreadsheet.
(Both existing or new files are supported.)
Since the items are automatically created by Google Apps Script, no manual input is required.
A new sheet named “Bulk File Deletion” will be created.
STEP
Open Apps Script Editor
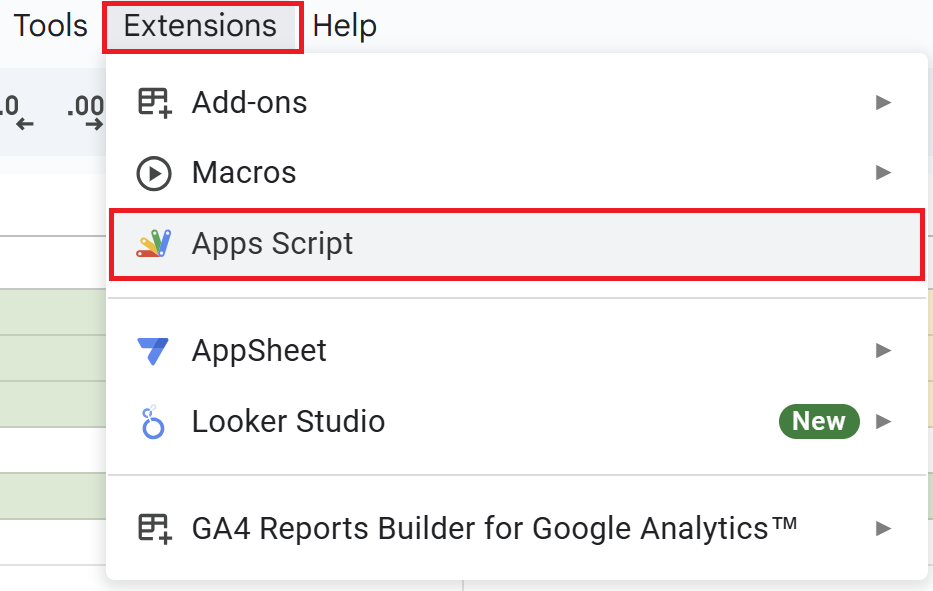
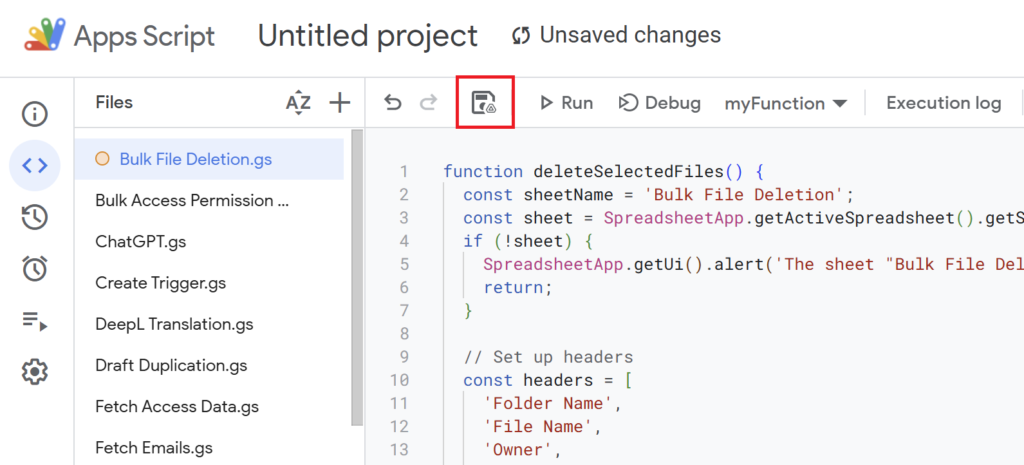
Open a Google Spreadsheet and click on “Extensions” in the menu, then “Apps Script” to open the Apps Script editor.
STEP
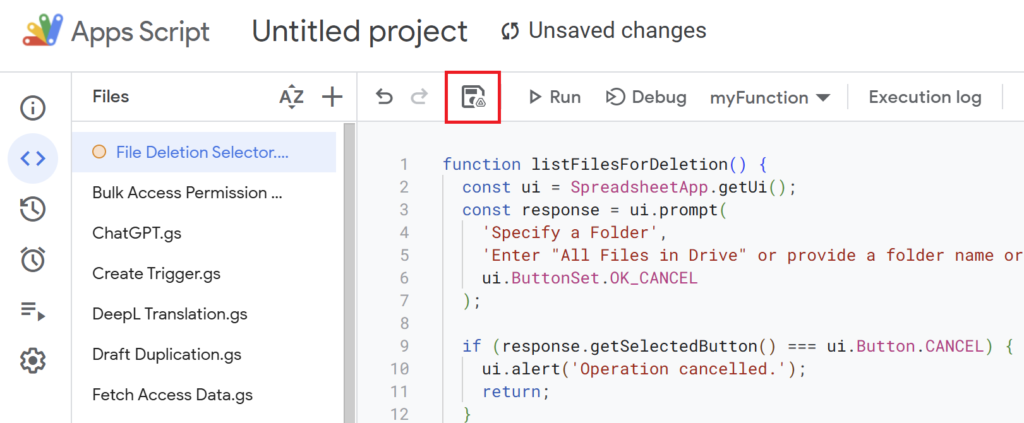
Create the Script
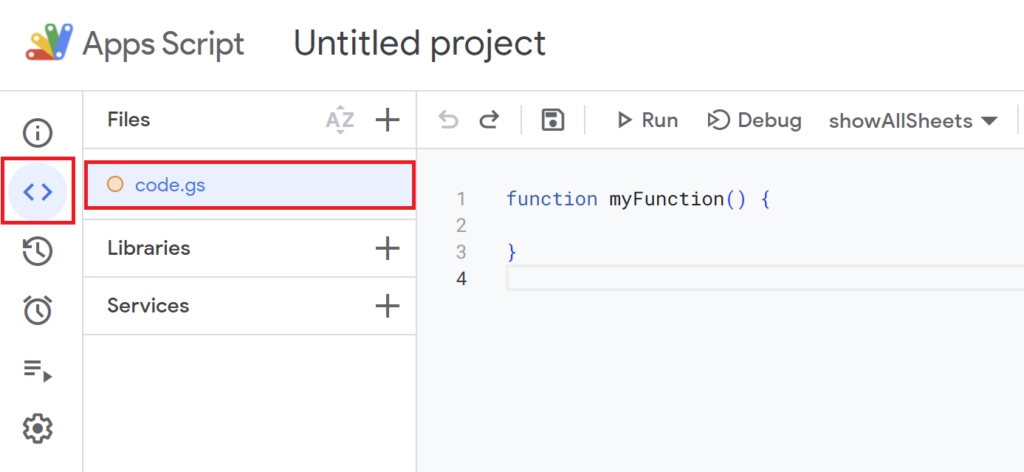
Since the default function myFunction() {} is present, delete it and replace it with the script below.
functionlistFilesForDeletion() {const ui = SpreadsheetApp.getUi();const response = ui.prompt('Specify a Folder','Enter "All Files in Drive" or provide a folder name or folder ID:', ui.ButtonSet.OK_CANCEL );if (response.getSelectedButton() === ui.Button.CANCEL) { ui.alert('Operation cancelled.');return; }const input = response.getResponseText().trim();// If "All Files in Drive" is entered, list all files; otherwise, list files in the specified folderif (input ==='All Files in Drive') {listAllFilesForDeletion(); } else {listFilesInFolderForDeletion(input); }}functionlistAllFilesForDeletion() {const sheet =setupDeletionSheet();const files = DriveApp.getFiles();let row =2;while (files.hasNext()) {const file = files.next();appendFileDataForDeletionToSheet(sheet, file, row); row++; }}functionlistFilesInFolderForDeletion(folderNameOrId) {const sheet =setupDeletionSheet();let folder;try { folder = DriveApp.getFolderById(folderNameOrId); } catch (e) {const folders = DriveApp.getFoldersByName(folderNameOrId);if (folders.hasNext()) { folder = folders.next(); } else { SpreadsheetApp.getUi().alert('Folder not found.');return; } }const files = folder.getFiles();let row =2;while (files.hasNext()) {const file = files.next();appendFileDataForDeletionToSheet(sheet, file, row); row++; }}functionsetupDeletionSheet() {const sheetName ='Bulk File Deletion';const sheet = SpreadsheetApp.getActiveSpreadsheet().getSheetByName(sheetName) || SpreadsheetApp.getActiveSpreadsheet().insertSheet(sheetName);// Clear and reset the sheet sheet.clear();// Set headersconst headers = ['Folder Name', 'File Name', 'Owner', 'Last Updated', 'Delete Target' ]; sheet.appendRow(headers);const headerRange = sheet.getRange(1, 1, 1, headers.length); headerRange.setHorizontalAlignment('center'); headerRange.setVerticalAlignment('middle');// Set background color for headers (light green) headerRange.setBackground('#B7E1CD');return sheet;}functionappendFileDataForDeletionToSheet(sheet, file, row) {const folderName =getFolderName(file);const fileName = file.getName();const fileLink = file.getUrl();const owner = file.getOwner() ? file.getOwner().getEmail() :'No Owner';const lastUpdated = file.getLastUpdated();// Add data to the sheet (file name as a hyperlink) sheet.getRange(row, 1).setValue(folderName); sheet.getRange(row, 2).setFormula(`=HYPERLINK("${fileLink}", "${fileName}")`); sheet.getRange(row, 3).setValue(owner); sheet.getRange(row, 4).setValue(lastUpdated); sheet.getRange(row, 5).insertCheckboxes(); // Add checkboxes for delete targets}functiongetFolderName(file) {const parents = file.getParents();return parents.hasNext() ? parents.next().getName() :'Root';}
Script 1 Description
listFilesForDeletion Function
This function prompts the user to specify a folder name, folder ID, or select “All Files in Drive”. It then lists all files within the specified folder or across the entire Drive.
functionlistFilesForDeletion() {const ui = SpreadsheetApp.getUi();const response = ui.prompt('Specify a Folder','Enter "All Files in Drive" or provide a folder name or folder ID:', ui.ButtonSet.OK_CANCEL );if (response.getSelectedButton() === ui.Button.CANCEL) { ui.alert('Operation cancelled.');return; }const input = response.getResponseText().trim();// If "All Files in Drive" is entered, list all files; otherwise, list files in the specified folderif (input ==='All Files in Drive') {listAllFilesForDeletion(); } else {listFilesInFolderForDeletion(input); }}
The function uses ui.prompt() to request user input, allowing the user to specify a folder name or folder ID to determine the scope of the file listing.
If the input is “All Files in Drive”, the listAllFilesForDeletion() function is called to list all files in the Drive.
For any other input, the listFilesInFolderForDeletion() function is called to list files within the specified folder.
It retrieves the target folder based on the folder ID or folder name provided by the user.
The files within the specified folder are then fetched using the getFiles() method and listed in the spreadsheet.
setupDeletionSheet Function
This function sets up the spreadsheet to be used for listing files.
functionsetupDeletionSheet() {const sheetName ='Bulk File Deletion';const sheet = SpreadsheetApp.getActiveSpreadsheet().getSheetByName(sheetName) || SpreadsheetApp.getActiveSpreadsheet().insertSheet(sheetName);// Clear and reset the sheet sheet.clear();// Set headersconst headers = ['Folder Name', 'File Name', 'Owner', 'Last Updated', 'Delete Target' ]; sheet.appendRow(headers);const headerRange = sheet.getRange(1, 1, 1, headers.length); headerRange.setHorizontalAlignment('center'); headerRange.setVerticalAlignment('middle');// Set background color for headers (light green) headerRange.setBackground('#B7E1CD');return sheet;}
It retrieves or creates a sheet named “Bulk File Deletion” and initializes it.
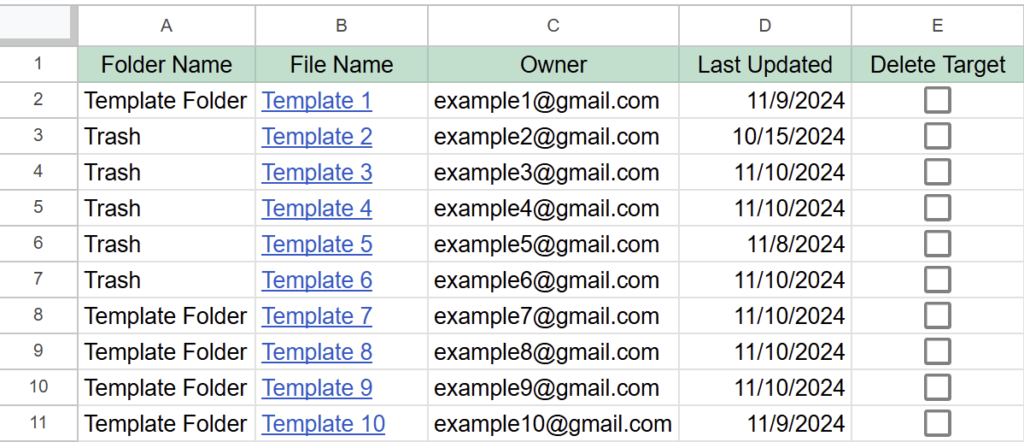
The header row (Folder Name, File Name, Owner, Last Updated, Delete Target) is set up, and a background color is applied to enhance visual clarity.
appendFileDataForDeletionToSheet Function
This function adds information for each file to the spreadsheet.
functionappendFileDataForDeletionToSheet(sheet, file, row) {const folderName =getFolderName(file);const fileName = file.getName();const fileLink = file.getUrl();const owner = file.getOwner() ? file.getOwner().getEmail() :'No Owner';const lastUpdated = file.getLastUpdated();// Add data to the sheet (file name as a hyperlink) sheet.getRange(row, 1).setValue(folderName); sheet.getRange(row, 2).setFormula(`=HYPERLINK("${fileLink}", "${fileName}")`); sheet.getRange(row, 3).setValue(owner); sheet.getRange(row, 4).setValue(lastUpdated); sheet.getRange(row, 5).insertCheckboxes(); // Add checkboxes for delete targets}
It records the file’s folder name, file name (with a hyperlink), owner, and last updated date in the spreadsheet, and adds a checkbox to mark the file as a delete target.
getFolderName Function
This function retrieves the name of the folder the file belongs to.
It retrieves the “Bulk File Deletion” sheet and reviews the listed file information.
Files marked for deletion are identified using the getRange() method, and the process continues only if the checkbox is selected.
Deletion Process
Files with selected checkboxes are deleted.
const lastRow = sheet.getLastRow();for (let i =2; i <= lastRow; i++) {const checkbox = sheet.getRange(i, 5).getValue();if (checkbox) { // If checkbox in column E is checkedconst fileLink = sheet.getRange(i, 2).getFormula();const fileIdMatch = fileLink.match(/\/d\/([a-zA-Z0-9-_]+)/);if (fileIdMatch) {try {const fileId = fileIdMatch[1];const file = DriveApp.getFileById(fileId);// Move the file to Trash file.setTrashed(true);
The file ID is extracted from each file’s link, and the corresponding file is retrieved using DriveApp.getFileById().
The setTrashed(true) method is then used to move the file to the Trash.
Record of Deleted Files
A timestamp is added to indicate when the file was successfully deleted.
// Add timestamp in column F sheet.getRange(i, 6).setValue(newDate());// Update folder name to "Trash" sheet.getRange(i, 1).setValue('Trash');// Reset the checkbox in column E sheet.getRange(i, 5).setValue(false); } catch (e) { console.error('Error occurred while deleting the file:', e.message); }
The deletion timestamp is recorded in the “Deleted At” column of the spreadsheet, serving as a deletion history.
The delete target checkbox is reset, and the folder name is updated to “Trash”.
STEP
Save the Script
The process is the same as in Script 1.
After writing the script, save it with a name.
(Example: “Bulk File Deletion”)
STEP
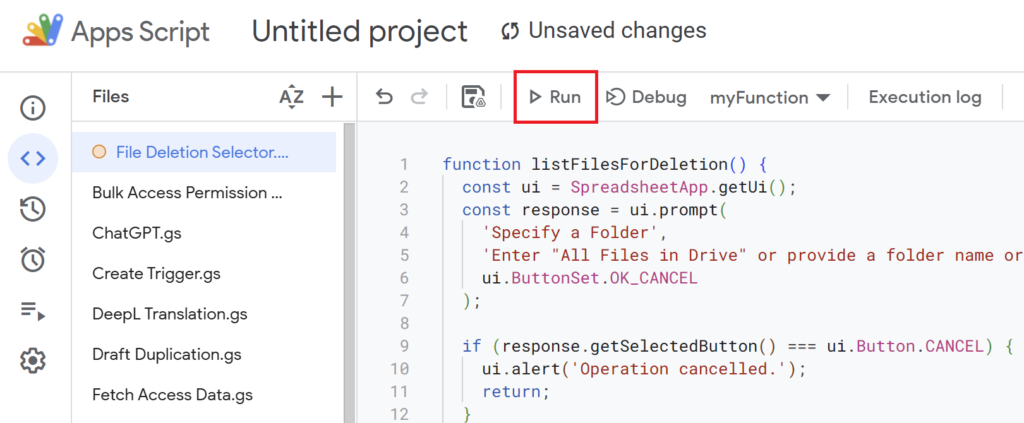
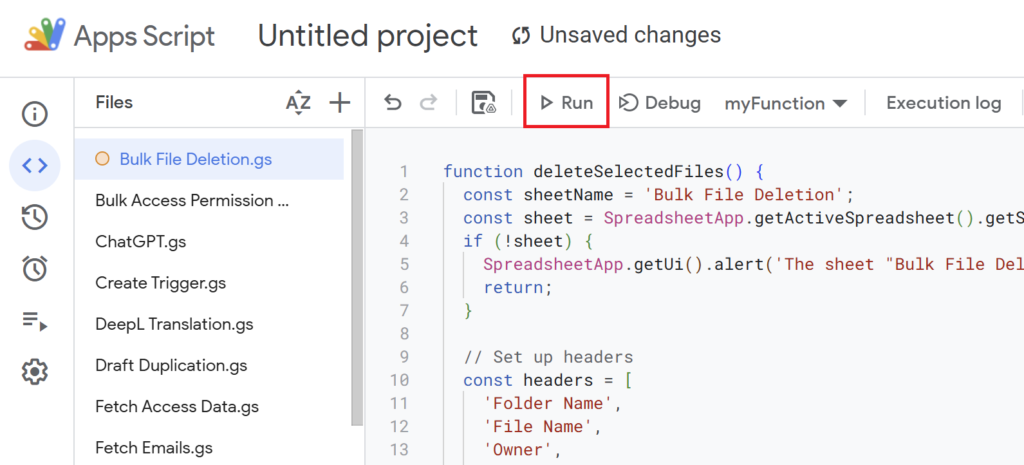
Run the Script
The process is the same as in Script 1.
Run the script.
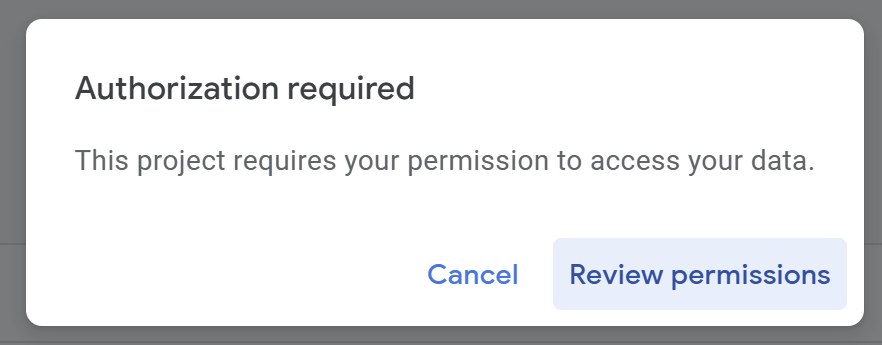
If you’re running the script for the first time, you need to authorize it.
Therefore, press “Review Permissions.“
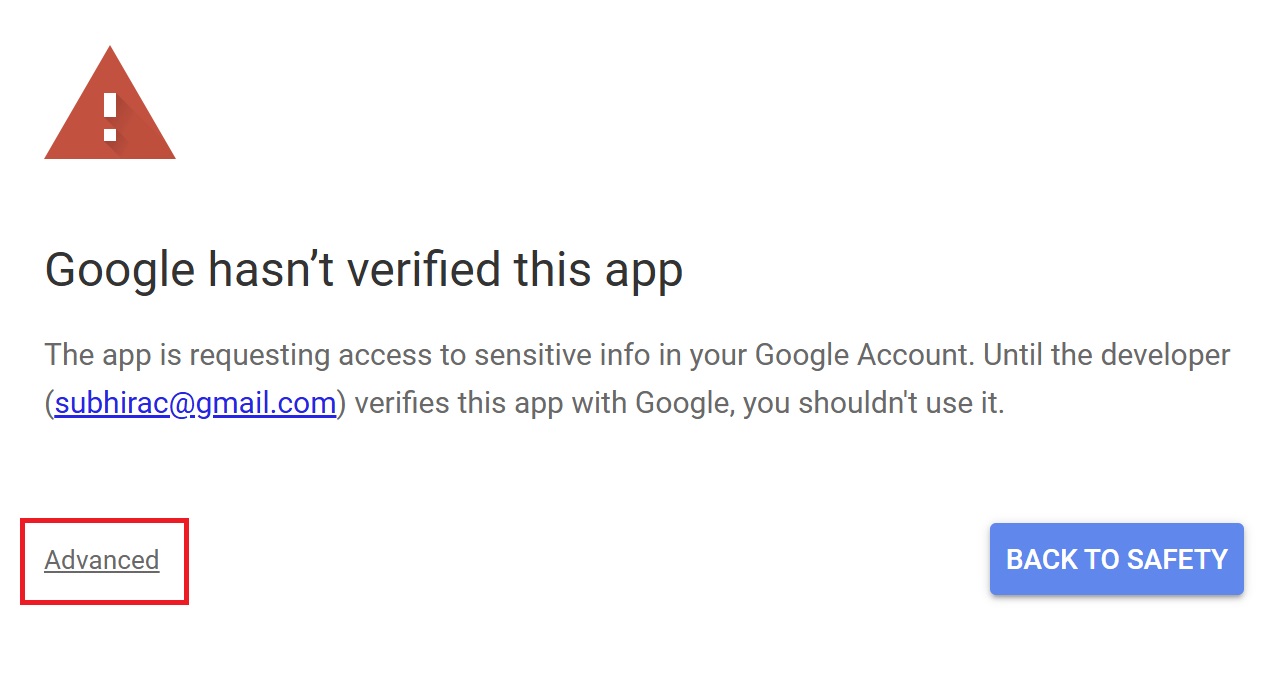
Detailed Authorization Steps
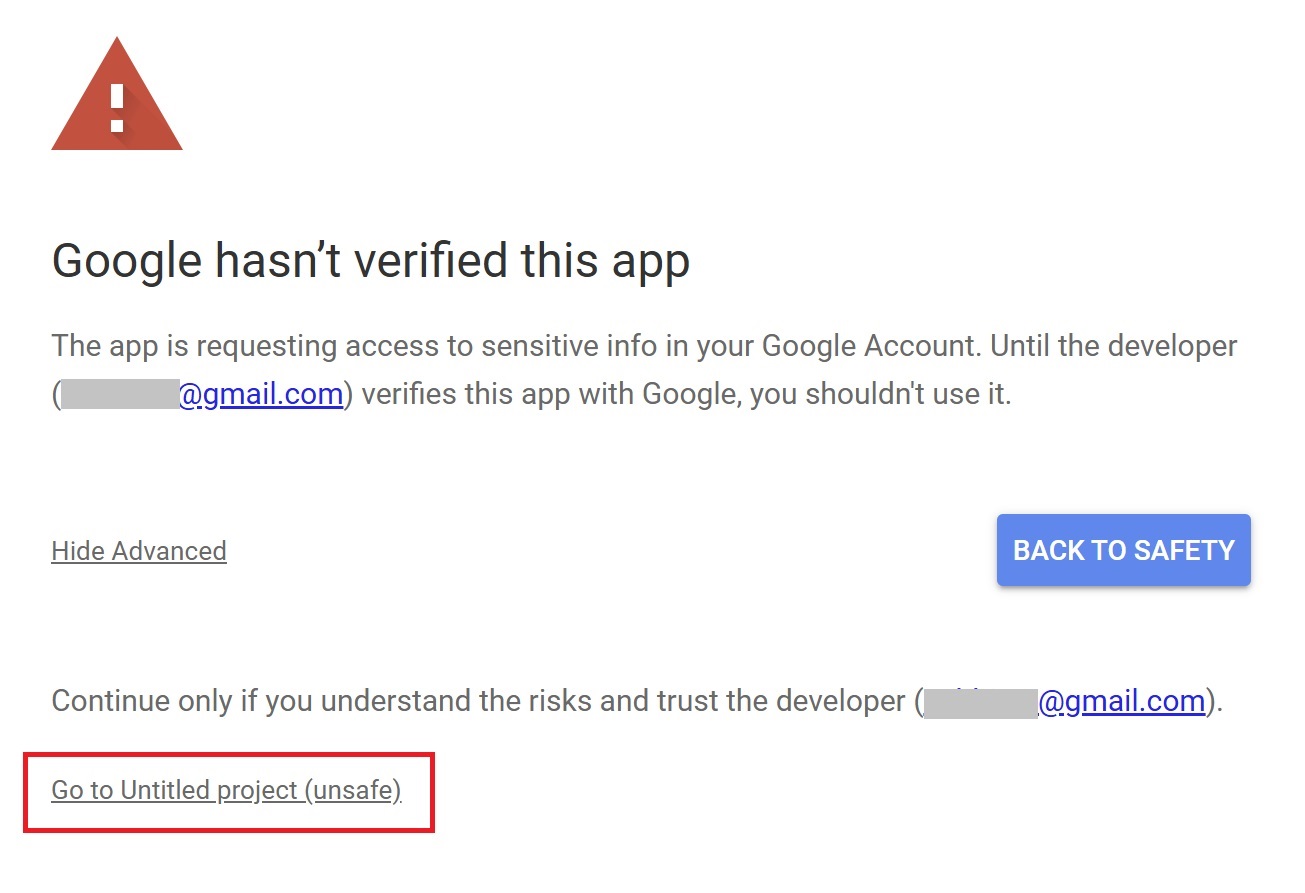
Press “Advanced.”
Press “Go to Untitled project (Unsafe).”
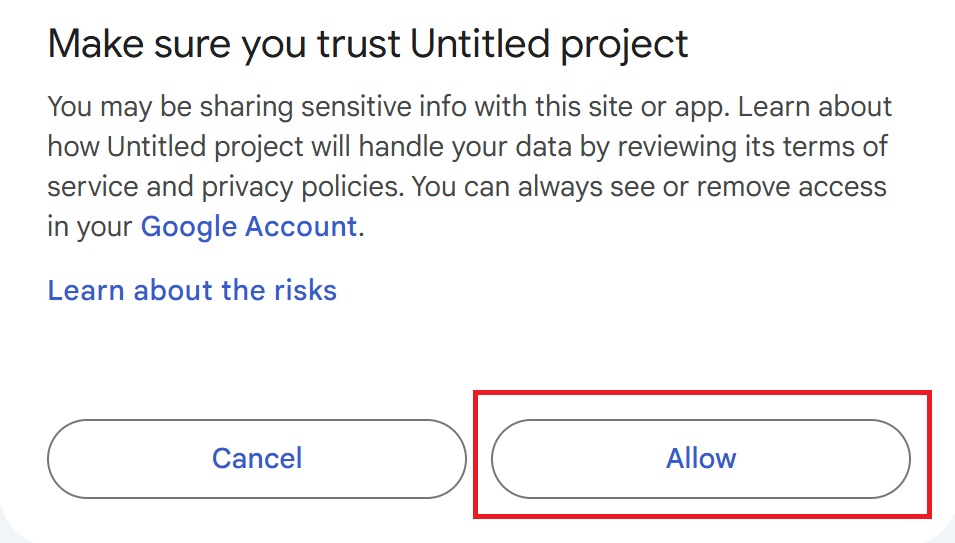
After that, press “Allow.”
STEP
Selected Files Are Deleted
When the script is executed, the files with selected checkboxes are deleted.
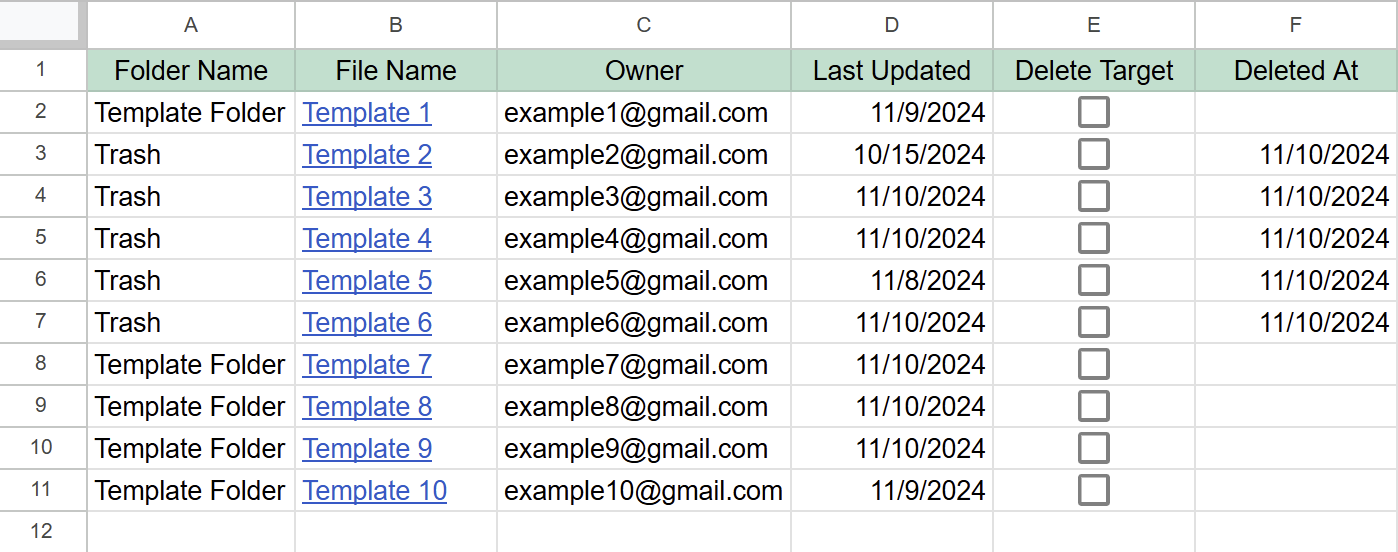
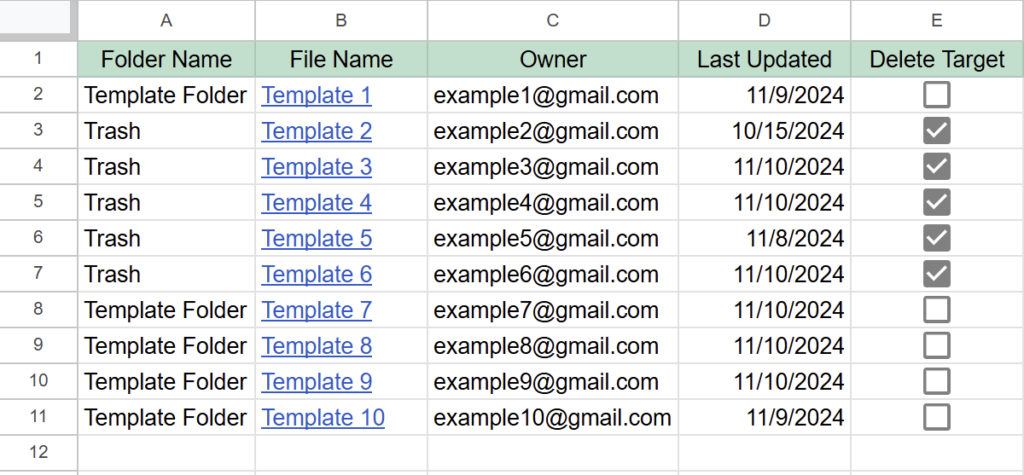
Column A: The folder name is updated to “Trash”.
Column E: The delete target checkbox is reset.
Column F: A timestamp (deletion date) is added in the “Deleted At” column.
Notes
File Access Permissions
Sufficient permissions are required to execute the script.
Files cannot be deleted if you are not the owner.
Confirm Before Permanent Deletion
Files deleted by the script are moved to the Trash.
It is recommended to perform a final check before permanently deleting files.
Conclusion
Using Google Apps Script to efficiently organize files in Google Drive can save you significant time.
If you identify workflows that can be automated with Apps Script, take advantage of them to boost productivity!
Our company offers support for improving work efficiency through the use of Google Apps Script. If you need assistance with Google Apps Script customization or error resolution, please feel free to contact us. We are fully committed to supporting your business improvements.