Streamline Business Card Digitization with OCR and Google Apps Script: Save Time on Spreadsheet Data Entry

- Those who spend too much time manually inputting business card information.
- Those who want to automate business card data entry and improve workflow efficiency.
Struggling to manage a growing pile of business cards?
Keeping track of paper business cards can be a hassle. Filing them requires physical space, and finding a specific card when you need it can be time-consuming.
Digitizing business cards makes management much easier, but manually entering data can take up a lot of time.
This is where Google Apps Script comes in handy.
Google offers a tool called the Cloud Vision API, which uses OCR technology (Optical Character Recognition) to extract text from images. By combining this tool with GAS, you can automatically extract text data from business card images and input it directly into a Google Spreadsheet.
In this article, we’ll guide you through how to use Google Apps Script and the Google Cloud Vision API to automate the process of inputting business card information into a spreadsheet.
You’ll need a Google Cloud Vision API key to execute the script.
For detailed instructions on how to obtain the API key, please refer to this article.

Example Output

- Upload business card images to the “Business Cards” folder in Google Drive.
- Run the GAS script to extract text from the business card images and transfer it to a Google Spreadsheet.
- Business card image files that have been processed will be moved to the “Processed” folder. ← This article covers up to this point.
- Use the ChatGPT API to categorize data into fields (e.g., company name, department, name, etc.). ← Explained in a separate article.
In this example, we’ll demonstrate how to use Google Apps Script and the Google Cloud Vision API to extract text from business card images uploaded to Google Drive and organize the extracted data into a Google Spreadsheet.
This article will focus on the process of importing business card images and transferring the extracted text to a spreadsheet.
To further organize the data, you can use the ChatGPT API to automatically distribute the extracted information into specific columns, such as company name, department, and name. This step will be explained in a separate article.

Steps
Upload Business Card Images to Google Drive
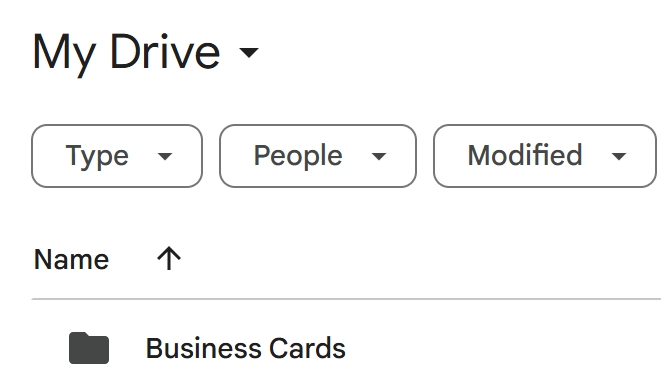
Start by creating a folder in Google Drive to store your business card images.
(For example, a folder named “Business Cards”).
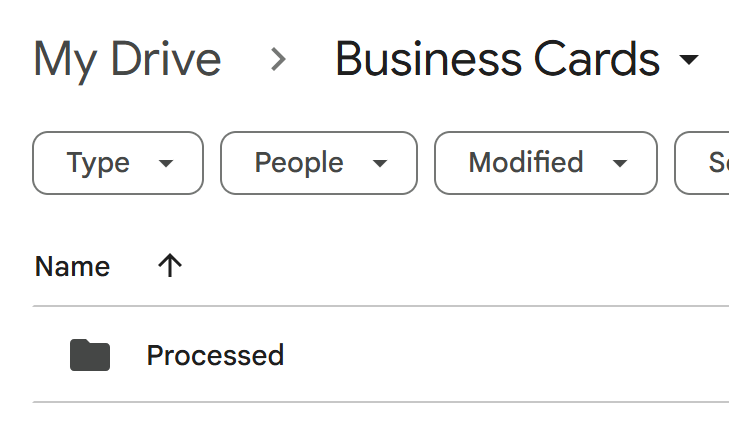
Within the “Business Cards” folder you just created, add a new folder named “Processed”.
This folder will serve as the destination for image files after they have been successfully transferred to the spreadsheet.
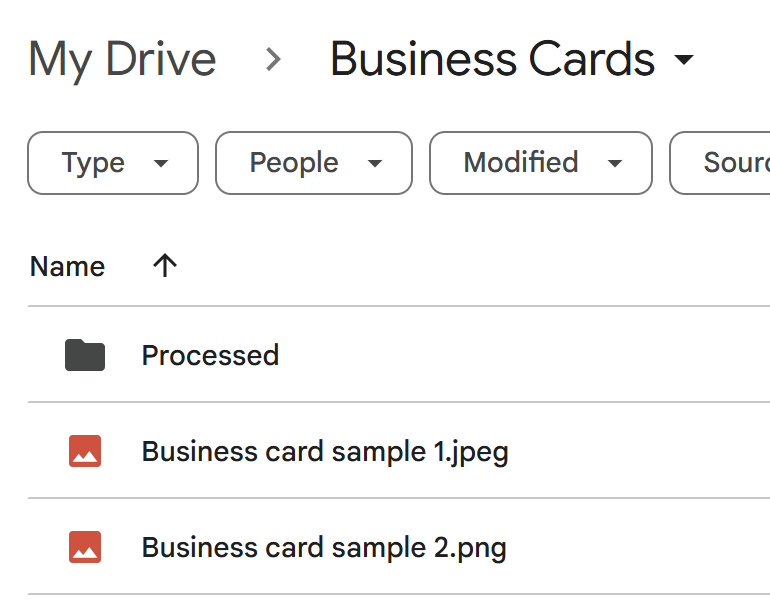
Upload your business card images to the “Business Cards” folder you created in Google Drive.
Both JPEG and PDF formats are supported.
Create and Run Google Apps Script
Create a Google Spreadsheet to store the business card data.
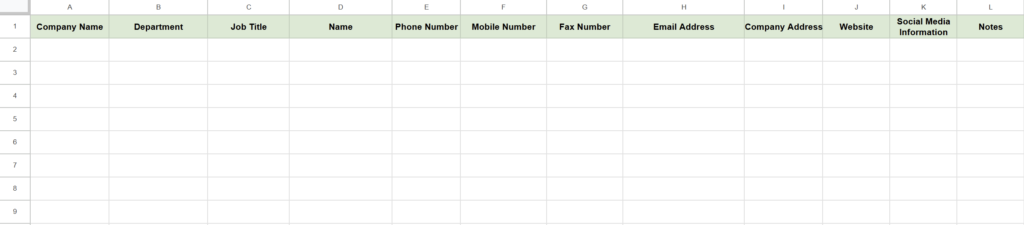
In the spreadsheet, set up headers corresponding to the information you want to extract from the business cards, such as “Company Name,” “Department,” “Position,” “Name,” “Phone Number,” etc.
For this example, name the sheet “BizCards” as it will be referenced in the GAS script.
Example of Column Entries
| Column | Description |
|---|---|
| A | Company Name |
| B | Department |
| C | Job Title |
| D | Name |
| E | Phone Number |
| F | Mobile Number |
| G | Fax Number |
| H | Email Address |
| I | Company Address |
| J | Website |
| K | Social Media Information |
| L | Notes |
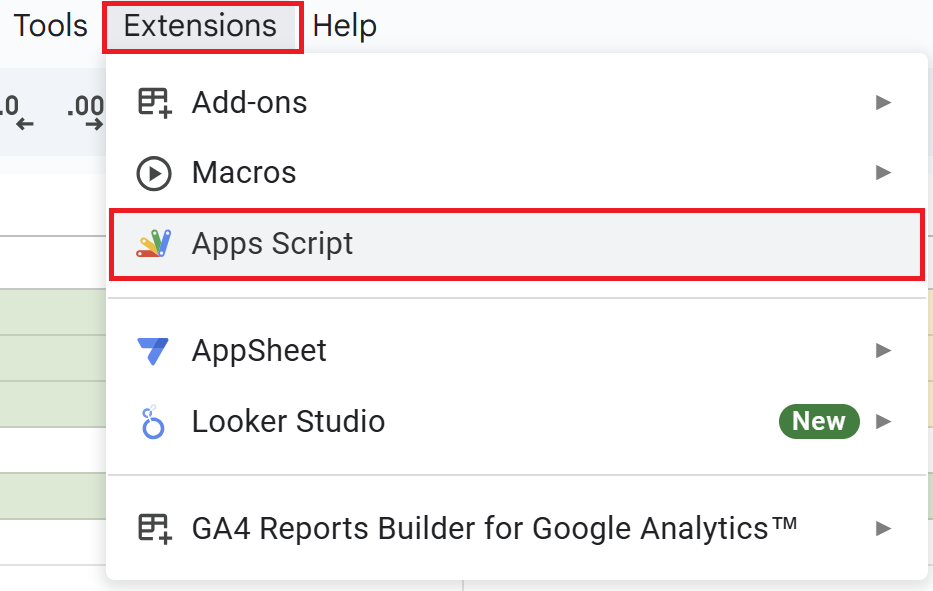
Open a Google Spreadsheet and click on “Extensions” in the menu, then “Apps Script” to open the Apps Script editor.
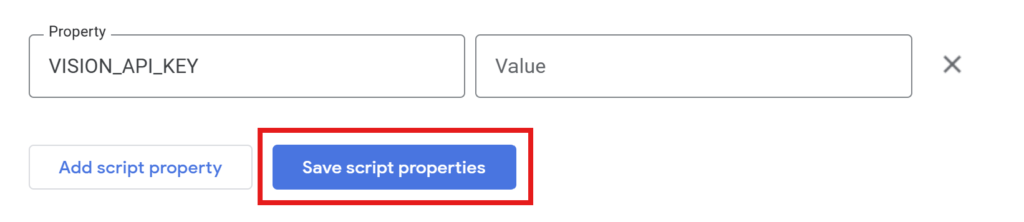
Use the API key obtained in the previous article and configure it in the script properties.
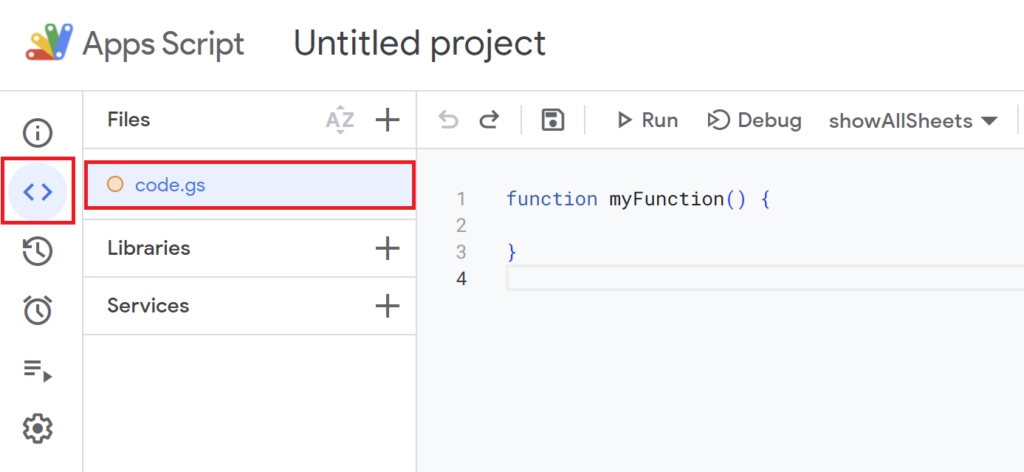
Since the default function myFunction() {} is present, delete it and replace it with the script below.
function processBusinessCards() {
  const folderId = "Insert the ID of the Business Cards folder here";
  const folder = DriveApp.getFolderById(folderId);
  const processedFolder = folder.getFoldersByName("Processed").next(); // Folder for processed files
  const files = folder.getFiles();
  const visionApiKey = PropertiesService.getScriptProperties().getProperty("VISION_API_KEY");
  const sheet = SpreadsheetApp.getActiveSpreadsheet().getSheetByName("Insert sheet name here");

  Logger.log("Starting to process files in folder: " + folderId);

  while (files.hasNext()) {
    const file = files.next();
    const imageBlob = file.getBlob();
    Logger.log("Processing file: " + file.getName());

    // Call Google Vision API for OCR
    const ocrText = callGoogleVisionApi(visionApiKey, imageBlob);

    // Append OCR results to the spreadsheet
    if (ocrText) {
      Logger.log("OCR Text: " + ocrText);
      appendToSheet(sheet, ocrText);

      // Move processed files to "Processed" folder
      processedFolder.addFile(file);
      folder.removeFile(file);
      Logger.log("File moved to processed folder: " + file.getName());
    } else {
      Logger.log("No text detected for file: " + file.getName());
    }
  }

  Logger.log("Processing completed for all files in folder: " + folderId);
}

function callGoogleVisionApi(apiKey, imageBlob) {
  const url = `https://vision.googleapis.com/v1/images:annotate?key=${apiKey}`;
  const requestBody = {
    "requests": [
      {
        "image": {
          "content": Utilities.base64Encode(imageBlob.getBytes())
        },
        "features": [
          {
            "type": "TEXT_DETECTION"
          }
        ]
      }
    ]
  };

  const options = {
    "method": "post",
    "contentType": "application/json",
    "payload": JSON.stringify(requestBody)
  };

  try {
    const response = UrlFetchApp.fetch(url, options);
    const json = JSON.parse(response.getContentText());
    Logger.log("Vision API response: " + response.getContentText());
    const textAnnotations = json.responses[0].textAnnotations;
    if (textAnnotations && textAnnotations.length > 0) {
      return textAnnotations[0].description;
    }
  } catch (e) {
    Logger.log("Error during Vision API call: " + e.message);
  }
  return null;
}

function appendToSheet(sheet, ocrText) {
  const rows = ocrText.split('\n');
  const newRow = Array(12).fill(""); // Create an empty array for 12 columns

  // Append entire OCR text to the sheet (for debugging)
  sheet.appendRow([ocrText]);

  // Extract data corresponding to each spreadsheet column
  rows.forEach(row => {
    if (row.includes("Name")) {
      newRow[0] = row.split(":")[1]?.trim() || "";
    } else if (row.includes("Company")) {
      newRow[1] = row.split(":")[1]?.trim() || "";
    }
    // Add more conditions for other fields as needed
  });

  // Append new row to the sheet (only if it contains data)
  if (newRow.some(cell => cell !== "")) {
    sheet.appendRow(newRow);
  }
}
Script Description
processBusinessCards()Function-
This function manages the entire process of extracting text from business card images stored in Google Drive, using the Google Vision API, and transferring the extracted data to a Google Spreadsheet.
function processBusinessCards() { const folderId = "Insert the ID of the Business Cards folder here"; const folder = DriveApp.getFolderById(folderId);folderId: Specify the ID of the folder where the business card images are stored.- You can retrieve the ID from the URL of the folder in Google Drive and input it here.
folder = DriveApp.getFolderById(folderId): UseDriveAppto access the folder specified by thefolderId.
const processedFolder = folder.getFoldersByName("Processed").next(); // Folder for processed filesprocessedFolder: Retrieves the folder named “Processed”.- This folder is used to store business card files that have been processed.
next(): SincegetFoldersByName()returns an iterator, usenext()to get the first folder from the list.
const files = folder.getFiles();files = folder.getFiles(): Retrieves all the files contained in the specified folder.- These files include the business card images to be processed.
const visionApiKey = PropertiesService.getScriptProperties().getProperty("VISION_API_KEY");visionApiKey: Retrieves the Google Vision API key stored in the script properties. This key is required to make requests to the Google Vision API.
const sheet = SpreadsheetApp.getActiveSpreadsheet().getSheetByName("Insert sheet name here");sheet = SpreadsheetApp.getActiveSpreadsheet().getSheetByName(...): Retrieves the sheet with the specified name from the active Google Spreadsheet. This sheet is where the extracted data will be input. (e.g., BizCards)
  while (files.hasNext()) {
    const file = files.next();
    const imageBlob = file.getBlob();
    Logger.log("Processing file: " + file.getName());
while (files.hasNext()): Continues looping as long as there are files remaining in thefilesobject.file = files.next(): Retrieves the next file in thefilesobject.imageBlob = file.getBlob(): Converts the file into a Blob format. The Blob format is used to handle binary data and is required for sending data to the API.
const ocrText = callGoogleVisionApi(visionApiKey, imageBlob);ocrText = callGoogleVisionApi(...): Calls thecallGoogleVisionApifunction to extract text information from the image.
    if (ocrText) {
      Logger.log("OCR Text: " + ocrText);
      appendToSheet(sheet, ocrText);

      // Move processed files to "Processed" folder
      processedFolder.addFile(file);
      folder.removeFile(file);
      Logger.log("File moved to processed folder: " + file.getName());
if (ocrText): Executes the following steps only if the OCR process is successful and text is detected.appendToSheet(sheet, ocrText): Adds the extracted text to the specified sheet.processedFolder.addFile(file)andfolder.removeFile(file): Moves the processed file to the “Processed” folder by adding it to the folder and then removing it from the original folder.
callGoogleVisionApi(apiKey, imageBlob)Function-
This function handles the process of extracting text from images using the Google Vision API.
function callGoogleVisionApi(apiKey, imageBlob) { const url = `https://vision.googleapis.com/v1/images:annotate?key=${apiKey}`;url: The endpoint URL for the Google Vision API.
The API key is included as a query parameter in the URL to authenticate the request.
const requestBody = { "requests": [ { "image": { "content": Utilities.base64Encode(imageBlob.getBytes()) }, "features": [ { "type": "TEXT_DETECTION" } ] } ] };requestBody: The request body sent to the Vision API."image": Contains theimageBlobencoded in Base64 format. This conversion ensures the image data is in a format that the API can process."features": Specifies the feature to detect from the image.
In this case,"TEXT_DETECTION"is used to extract text from the image.
const options = { "method": "post", "contentType": "application/json", "payload": JSON.stringify(requestBody) };options: The configuration settings for the request sent to the Vision API via theUrlFetchApp.fetch()method."method": Specifies the HTTP method to use. In this case, it is set to POST."contentType": Defines the content type of the request. The value is set toapplication/json, as the request body is in JSON format."payload": Converts the request body into a JSON string to be sent with the POST request.
  try {
    const response = UrlFetchApp.fetch(url, options);
    const json = JSON.parse(response.getContentText());
    Logger.log("Vision API response: " + response.getContentText());
    const textAnnotations = json.responses[0].textAnnotations;
    if (textAnnotations && textAnnotations.length > 0) {
      return textAnnotations[0].description;
    }
  } catch (e) {
    Logger.log("Error during Vision API call: " + e.message);
  }
  return null;
}
UrlFetchApp.fetch(url, options):
Sends the request to the Google Vision API using the provided URL and options. The method retrieves the response from the API.JSON.parse(response.getContentText()):
Converts the API response, which is returned as a string, into a JSON object for easier data manipulation.textAnnotations[0].description:
Extracts the first entry from thetextAnnotationsarray in the response, which contains the recognized text. This text is returned as the result of the OCR process.- Error Handling with
catch:
If an error occurs during the API request or response parsing, thecatchblock logs the error message to the script logs, helping diagnose issues.
appendToSheet(sheet, ocrText)Function-
This function handles writing the OCR results to a Google Spreadsheet.
function appendToSheet(sheet, ocrText) {
  const rows = ocrText.split('\n');
  const newRow = Array(12).fill(""); // Create an empty array for 12 columns
rows = ocrText.split('\n'):
Splits the text obtained from the OCR into an array of strings, using line breaks (\n) as the delimiter.
Each line of text becomes an individual element in the array.newRow = Array(12).fill(""):
Creates an empty array with 12 elements, each initialized as an empty string ("").
This array corresponds to the 12 columns in the spreadsheet, ensuring the data aligns correctly with the intended columns.
sheet.appendRow([ocrText]);sheet.appendRow([ocrText]):
Adds the entire extracted text as a single row to the spreadsheet for debugging purposes.
This allows you to review the raw OCR output later and verify the accuracy of the text extraction.
By saving the full OCR result in one row, it becomes easier to track and debug the processing of each file.
  rows.forEach(row => {
    if (row.includes("Name")) {
      newRow[0] = row.split(":")[1]?.trim() || "";
    } else if (row.includes("Company")) {
      newRow[1] = row.split(":")[1]?.trim() || "";
    }
    // Add more conditions for other fields as needed
  });
rows.forEach(row => {...}):- Iterates through each line of the OCR result (
rows), searching for specific keywords (e.g.,"Name","Company") and extracting the corresponding data. row.split(":")[1]?.trim() || "":
Splits the line into two parts using the colon (:) as the delimiter.?.: Uses optional chaining to safely access the second part of the split, avoiding errors if the colon is missing.。
  if (newRow.some(cell => cell !== "")) {
    sheet.appendRow(newRow);
  }
}
newRow.some(cell => cell !== ""):
This checks whether thenewRowarray contains at least one non-empty value.
If any cell in the array is not empty, it indicates that relevant data was extracted.
In such cases, the function proceeds to add thenewRowto the spreadsheet as a new row usingsheet.appendRow(newRow).
In the second line of the script, replace the following part:const folderId = "Insert the folder ID for the business cards here";
with the folder ID of the directory where the business card images are stored.
Example:
If your sheet name is Business Cards, the line should be updated as:
const folderId = "Business Cards";
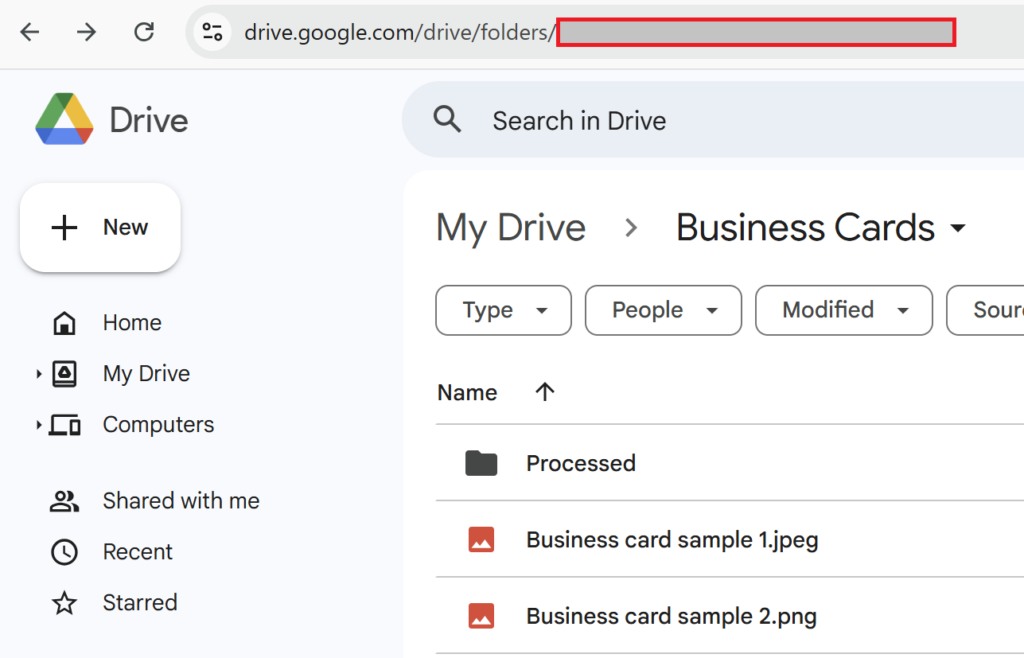
Open the target folder in Google Drive (e.g., Business Cards).
While the folder is open, look at the URL displayed in your browser’s address bar.
The series of alphanumeric characters following "folders/" in the URL is the folder ID.
In line 7 of the script, replace the following part:const sheet = SpreadsheetApp.getActiveSpreadsheet().getSheetByName("Insert sheet name here");
with the name of the sheet in your Google Spreadsheet.
Example:
If your sheet name is BizCards, the line should be updated as:
javascriptCopyEditconst sheet = SpreadsheetApp.getActiveSpreadsheet().getSheetByName("BizCards");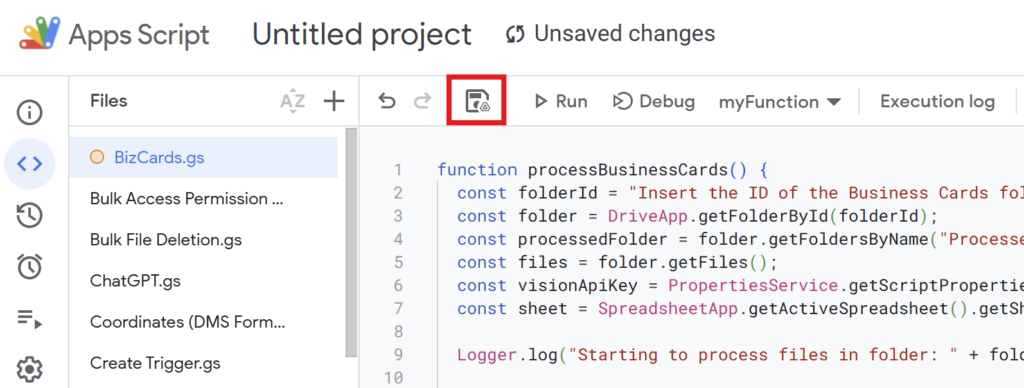
Once you’ve written the code, save it with an appropriate name.
Example: BizCards
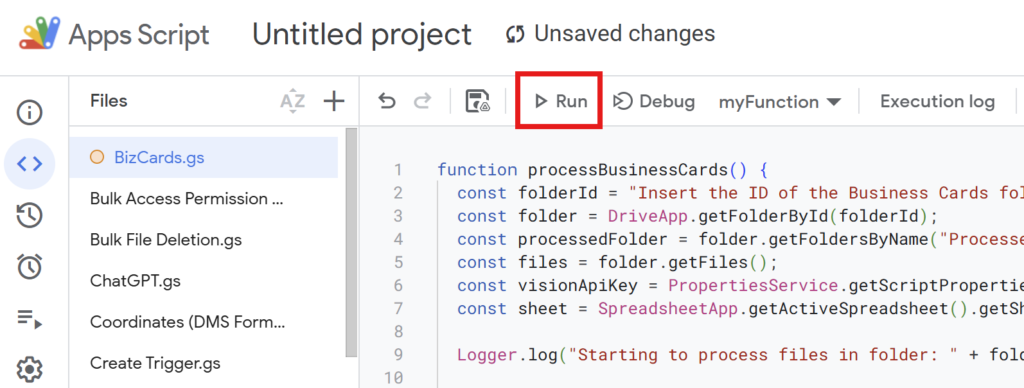
Execute the script to process the business card images and transfer the extracted information to the Google Spreadsheet.
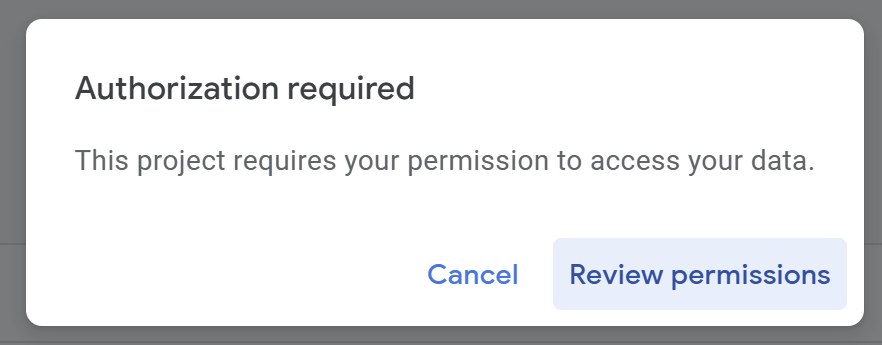
If you’re running the script for the first time, you need to authorize it.
Therefore, press “Review Permissions.“
Detailed Authorization Steps
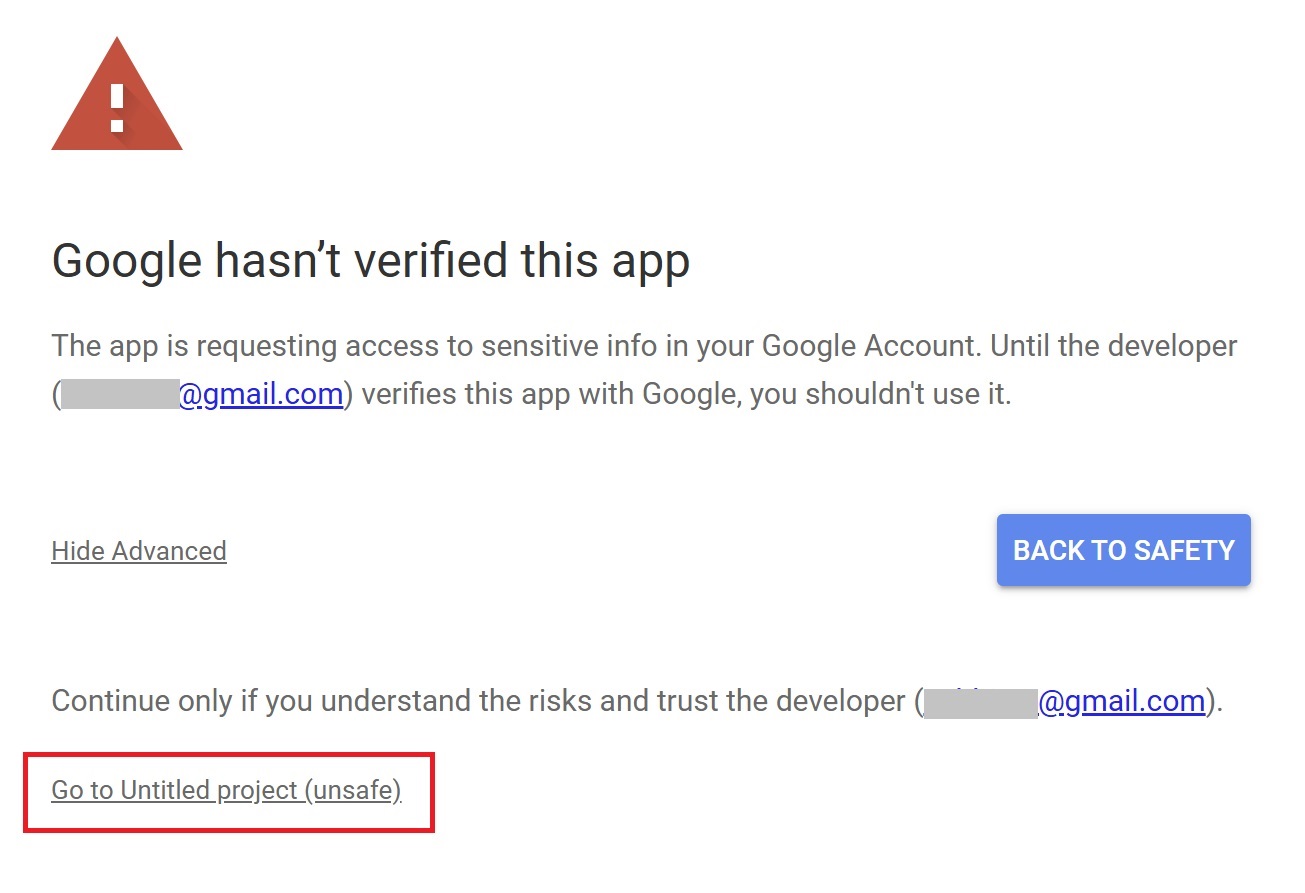
Press “Advanced.”
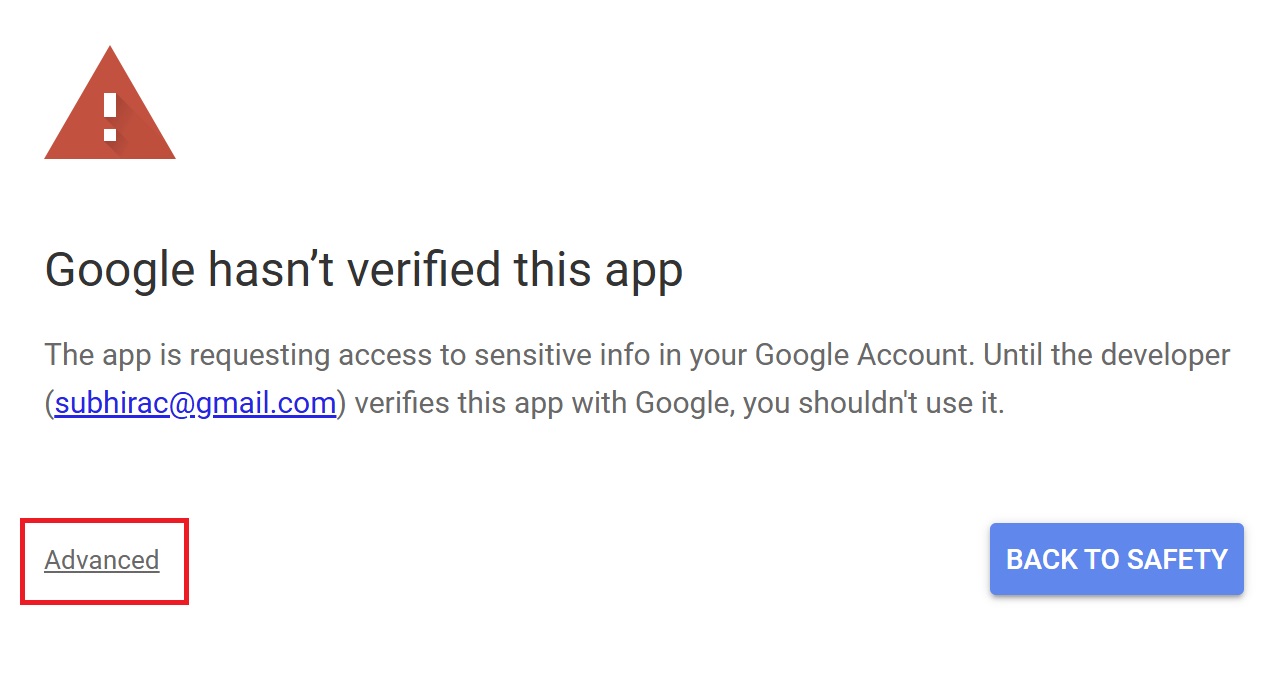
Press “Go to Untitled project (Unsafe).”
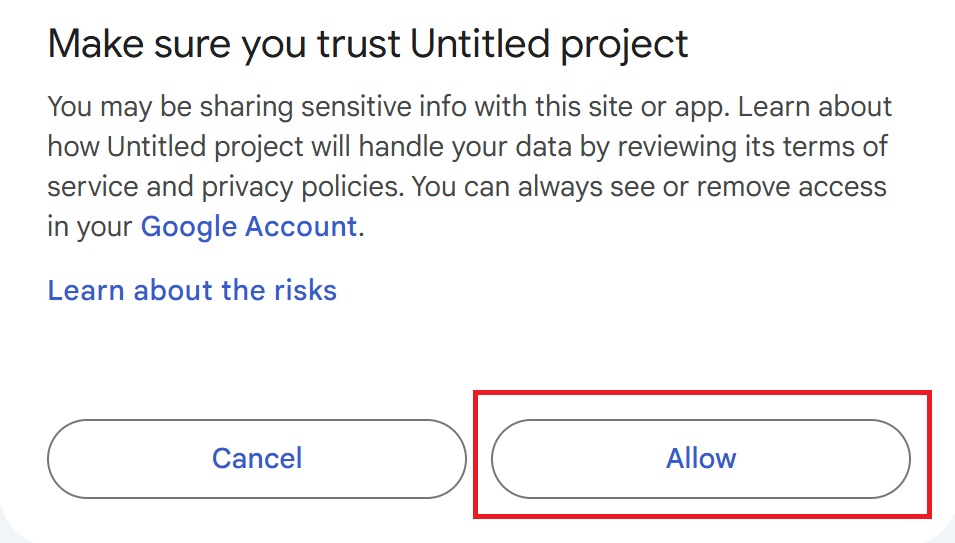
After that, press “Allow.”
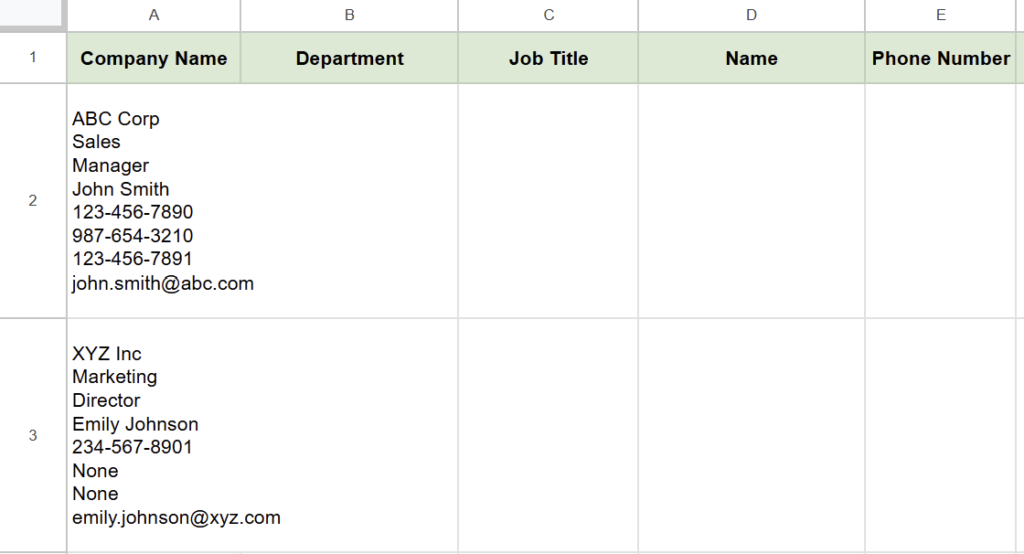
With this script, the extracted information from the business cards will be transferred to Column A in the spreadsheet.
In the next article, we will use the ChatGPT API to organize this information into specific fields (e.g., company name, department, name).
Additionally, the processed business card images will be moved to the “Processed” folder.
Notes on Script Execution
Google Apps Script has a maximum execution time of 6 minutes. If the script exceeds this limit, a timeout error will occur.
To avoid issues, it’s recommended to start by processing a smaller batch of images (around 10 to 15 images) to gauge how long the process takes. This approach ensures a smoother execution and helps identify any potential bottlenecks.
Conclusion
In this article, we demonstrated how to use Google Apps Script and the Google Vision API to automatically input business card data into a Google Spreadsheet.
By automating this process, you can significantly reduce the time and effort required for manual data entry.
In the next article, we will explore how to utilize the ChatGPT API to organize the extracted business card information into specific fields such as company name, department, and name.


Our company offers support for improving work efficiency through the use of Google Apps Script.
If you need assistance with Google Apps Script customization or error resolution, please feel free to contact us.
We are fully committed to supporting your business improvements.
Contact us here
- How to Get a Google Cloud Vision API Key: A Step-by-Step Guide
- How to Efficiently Organize Business Card Data with ChatGPT API: Leveraging Google Sheets and AI
関連記事
-
 Google Calendar Free Time Finder Template|Google Sheets × Apps Script
 -
How to Find Common Free Time in Google Calendar: Manage Shared Schedules with Google Apps Script
-
Ready-to-Use Google Calendar to Sheets Export Template| Google Sheets & Apps Script
-
Export Google Calendar Events to a Spreadsheet|Easily Get Schedules for Multiple Users with Google Apps Script
-
Gmail Draft Duplication Template | Attachments Supported! Automate with Google Sheets × Apps Script
-
Gmail Bulk Sending Template | Easily Send to Multiple Recipients via Google Sheets
-
Google News Fetch Template: Streamline Information Gathering with Google Apps Script and Google Sheets
-
Google Sheets YouTube API: Retrieve and List 500+ Videos with Apps Script