Have you ever struggled with the tedious task of reviewing and modifying sharing settings for individual files, such as spreadsheets or documents?
This process can become particularly time-consuming and inefficient when dealing with a large number of files.
If there were a way to manage permissions for multiple files at once, it could significantly reduce the time spent on these tasks.
In this article, we’ll introduce how to use Google Apps Script to list the current access permissions of your spreadsheet files.
This method allows you to easily review file-sharing settings, making future access management more efficient.
Since the process involves two separate scripts, this article will focus on displaying the current permissions for each file. In our next article, we’ll cover how to modify those permissions in bulk.
The spreadsheet will display the following information:
Folder Name for each file
File Name
Access Permissions
Email Addresses of the owner, viewers, and editors
In addition to reviewing access permissions, the spreadsheet will also include input fields for modifying permissions. These fields will be prepared in this article, ensuring that you’re ready to implement permission changes in the next article.
Steps
STEP
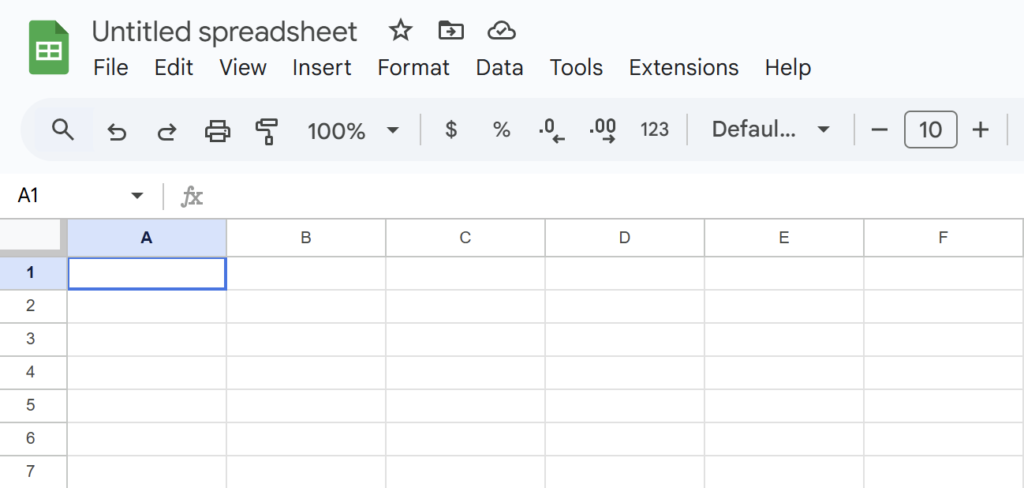
Open the Spreadsheet
Open a Google Spreadsheet. (Both existing or new files are supported.)
Since the script will automatically create all necessary items, no manual input is required.
The first row headers will be entered by Google Apps Script.
A new sheet named “Access Management” will also be created by the script.
STEP
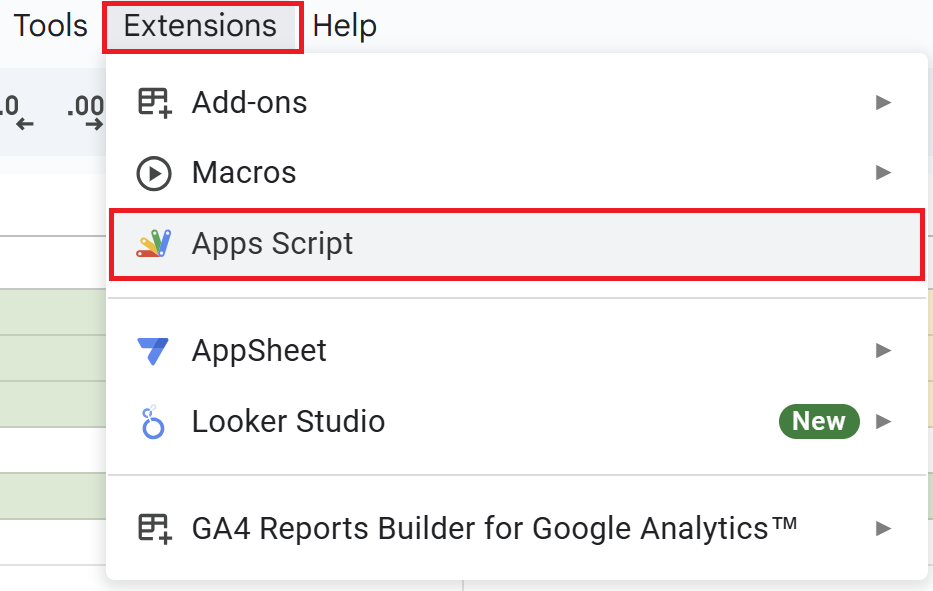
Open Apps Script Editor
Open a Google Spreadsheet and click on “Extensions” in the menu, then “Apps Script” to open the Apps Script editor.
STEP
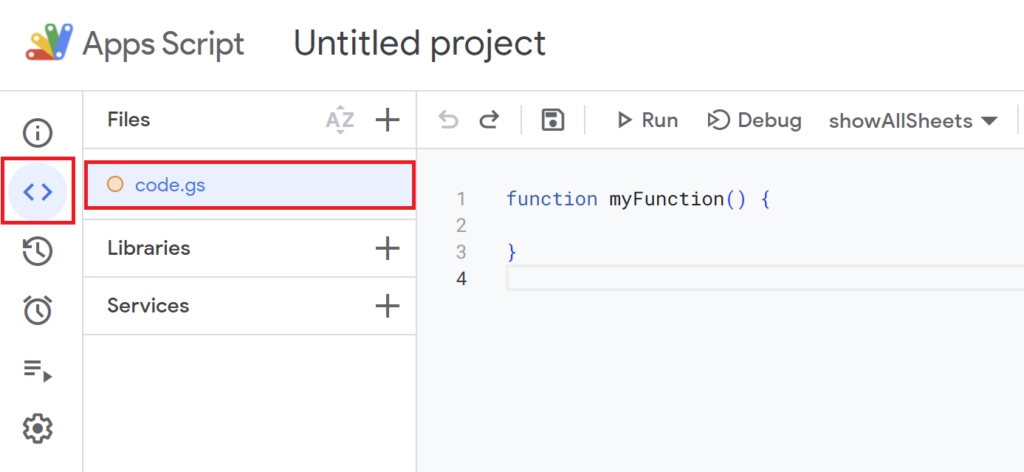
Create the Script
Since the default function myFunction() {} is present, delete it and replace it with the script below.
It’s a long script, but there’s a copy button in the top-right corner of the code block.
functionlistFilesAndManageAccess() {const ui = SpreadsheetApp.getUi();const response = ui.prompt('Specify a Folder','Enter "All Files in Drive" or specify a folder name or folder ID:', ui.ButtonSet.OK_CANCEL );if (response.getSelectedButton() === ui.Button.CANCEL) { ui.alert('Operation cancelled.');return; }const input = response.getResponseText().trim();// Handle input for "All Files in Drive" or a specific folderif (input ==='All Files in Drive') {listAllFiles(); } else {listFilesInFolder(input); }}functionlistAllFiles() {const sheet =setupSheet();const files = DriveApp.getFiles();let row =2;while (files.hasNext()) {const file = files.next();appendFileDataToSheet(sheet, file, row); row++; }}functionlistFilesInFolder(folderNameOrId) {const sheet =setupSheet();let folder;try { folder = DriveApp.getFolderById(folderNameOrId); } catch (e) {const folders = DriveApp.getFoldersByName(folderNameOrId);if (folders.hasNext()) { folder = folders.next(); } else { SpreadsheetApp.getUi().alert('Folder not found.');return; } }const files = folder.getFiles();let row =2;while (files.hasNext()) {const file = files.next();appendFileDataToSheet(sheet, file, row); row++; }}functionsetupSheet() {const sheetName ='Access Management';const sheet = SpreadsheetApp.getActiveSpreadsheet().getSheetByName(sheetName) || SpreadsheetApp.getActiveSpreadsheet().insertSheet(sheetName);// Clear and reset the sheet sheet.clear();// Set headersconst headers = ['Folder Name', 'File Name', 'Current Permissions', 'Owner', 'Viewers (Including Commenters)', 'Editors', 'Change Target', 'New Permissions', 'Remove Viewers', 'Remove Editors', 'Add Viewers', 'Add Editors', 'Timestamp' ]; sheet.appendRow(headers);const headerRange = sheet.getRange(1, 1, 1, headers.length); headerRange.setHorizontalAlignment('center'); headerRange.setVerticalAlignment('middle');// Color-code headersconst greenHeadersRange = sheet.getRange(1, 1, 1, 6);const orangeHeadersRange = sheet.getRange(1, 8, 1, 6); greenHeadersRange.setBackground('#B7E1CD'); // Light Green orangeHeadersRange.setBackground('#FAD7AC'); // Light Orange// Add dropdown options for "New Permissions" columnconst permissions = ['Anyone with the link (View)', 'Anyone with the link (Comment)', 'Anyone with the link (Edit)', 'Restricted' ];const validation = SpreadsheetApp.newDataValidation().requireValueInList(permissions).build(); sheet.getRange(2, 8, sheet.getMaxRows() -1).setDataValidation(validation);return sheet;}functionappendFileDataToSheet(sheet, file, row) {const folderName =getFolderName(file);const fileName = file.getName();const fileLink = file.getUrl();const currentPermission =translatePermission(file.getSharingAccess(), file.getSharingPermission());// Append file data with a hyperlink for the file name sheet.getRange(row, 1).setValue(folderName); sheet.getRange(row, 2).setFormula(`=HYPERLINK("${fileLink}", "${fileName}")`); sheet.getRange(row, 3).setValue(currentPermission);// Retrieve member detailsconst viewers = file.getViewers().map(user=> user.getEmail());const editors = file.getEditors().map(user=> user.getEmail());// Safely get the owner's emailconst owner = file.getOwner() ? file.getOwner().getEmail() :'No Owner';// Populate member details in respective columns sheet.getRange(row, 4).setValue(owner); sheet.getRange(row, 5).setValue(viewers.join(', ')); sheet.getRange(row, 6).setValue(editors.join(', ')); sheet.getRange(row, 7).insertCheckboxes(); // Add checkboxes for changes}functiongetFolderName(file) {const parents = file.getParents();return parents.hasNext() ? parents.next().getName() :'Root';}functiontranslatePermission(access, permission) {const accessMap = { [DriveApp.Access.ANYONE]: 'Anyone', [DriveApp.Access.ANYONE_WITH_LINK]: 'Anyone with the link', [DriveApp.Access.PRIVATE]: 'Restricted' };const permissionMap = { [DriveApp.Permission.VIEW]: 'View', [DriveApp.Permission.COMMENT]: 'Comment', [DriveApp.Permission.EDIT]: 'Edit' };if (access === DriveApp.Access.PRIVATE) {return accessMap[access]; } else {return`${accessMap[access] ||'Unknown'} (${permissionMap[permission] ||'Unknown'})`; }}
Script Description
Main Function:listFilesAndManageAccess()
functionlistFilesAndManageAccess() {const ui = SpreadsheetApp.getUi();const response = ui.prompt('Specify a Folder','Enter "All Files in Drive" or specify a folder name or folder ID:', ui.ButtonSet.OK_CANCEL );if (response.getSelectedButton() === ui.Button.CANCEL) { ui.alert('Operation cancelled.');return; }const input = response.getResponseText().trim();// Handle input for "All Files in Drive" or a specific folderif (input ==='All Files in Drive') {listAllFiles(); } else {listFilesInFolder(input); }}
When the script is executed, a popup will appear, allowing you to specify either “All Files in Drive” or a specific folder name or folder ID.
Your selection will determine the scope of files to be processed in the next steps.
This function retrieves and lists only the files within a specified folder.
Using a folder name or folder ID, it identifies the target folder and writes the files contained within it to the spreadsheet sequentially.
Sheet Initialization:setupSheet()
functionsetupSheet() {const sheetName ='Access Management';const sheet = SpreadsheetApp.getActiveSpreadsheet().getSheetByName(sheetName) || SpreadsheetApp.getActiveSpreadsheet().insertSheet(sheetName);// Clear and reset the sheet sheet.clear();// Set headersconst headers = ['Folder Name', 'File Name', 'Current Permissions', 'Owner', 'Viewers (Including Commenters)', 'Editors', 'Change Target', 'New Permissions', 'Remove Viewers', 'Remove Editors', 'Add Viewers', 'Add Editors', 'Timestamp' ]; sheet.appendRow(headers);const headerRange = sheet.getRange(1, 1, 1, headers.length); headerRange.setHorizontalAlignment('center'); headerRange.setVerticalAlignment('middle');// Color-code headersconst greenHeadersRange = sheet.getRange(1, 1, 1, 6);const orangeHeadersRange = sheet.getRange(1, 8, 1, 6); greenHeadersRange.setBackground('#B7E1CD'); // Light Green orangeHeadersRange.setBackground('#FAD7AC'); // Light Orange// Add dropdown options for "New Permissions" columnconst permissions = ['Anyone with the link (View)', 'Anyone with the link (Comment)', 'Anyone with the link (Edit)', 'Restricted' ];const validation = SpreadsheetApp.newDataValidation().requireValueInList(permissions).build(); sheet.getRange(2, 8, sheet.getMaxRows() -1).setDataValidation(validation);return sheet;}
This function creates or initializes a sheet named “Access Management”, setting up columns to store access permission information.
Each column is labeled with appropriate headers, and color coding is applied to enhance readability.
Additionally, the “New Permissions” column is equipped with a dropdown list, preparing for the permission modification operations that will be introduced in the next article.
Writing File Information to the Sheet:appendFileDataToSheet()
functionappendFileDataToSheet(sheet, file, row) {const folderName =getFolderName(file);const fileName = file.getName();const fileLink = file.getUrl();const currentPermission =translatePermission(file.getSharingAccess(), file.getSharingPermission());// Append file data with a hyperlink for the file name sheet.getRange(row, 1).setValue(folderName); sheet.getRange(row, 2).setFormula(`=HYPERLINK("${fileLink}", "${fileName}")`); sheet.getRange(row, 3).setValue(currentPermission);// Retrieve member detailsconst viewers = file.getViewers().map(user=> user.getEmail());const editors = file.getEditors().map(user=> user.getEmail());// Safely get the owner's emailconst owner = file.getOwner() ? file.getOwner().getEmail() :'No Owner';// Populate member details in respective columns sheet.getRange(row, 4).setValue(owner); sheet.getRange(row, 5).setValue(viewers.join(', ')); sheet.getRange(row, 6).setValue(editors.join(', ')); sheet.getRange(row, 7).insertCheckboxes(); // Add checkboxes for changes}
This function processes and writes the retrieved file information into the spreadsheet.
Details such as the file name, folder name, owner, viewers, and editors are displayed in their respective columns.
The file name is output as a hyperlink, allowing you to directly access the file with a single click.
getFolderName(): This function retrieves the name of the folder containing the file. If the file is located in the root folder, it displays “Root” instead.
This function maps Google Drive file access and permission levels to human-readable descriptions, returning a clear string representation of the access type and permission level.
STEP
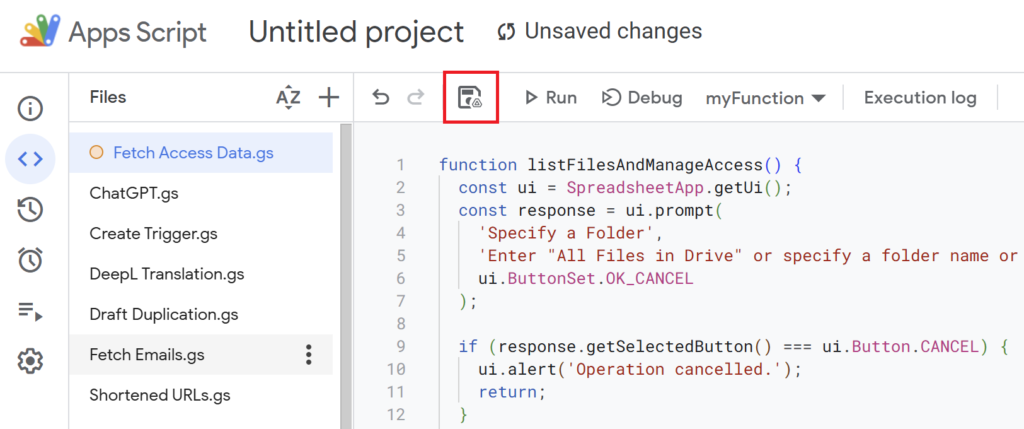
Save the Script
After writing the script, save it with a name.
(For example: “Fetch Access Data”)
STEP
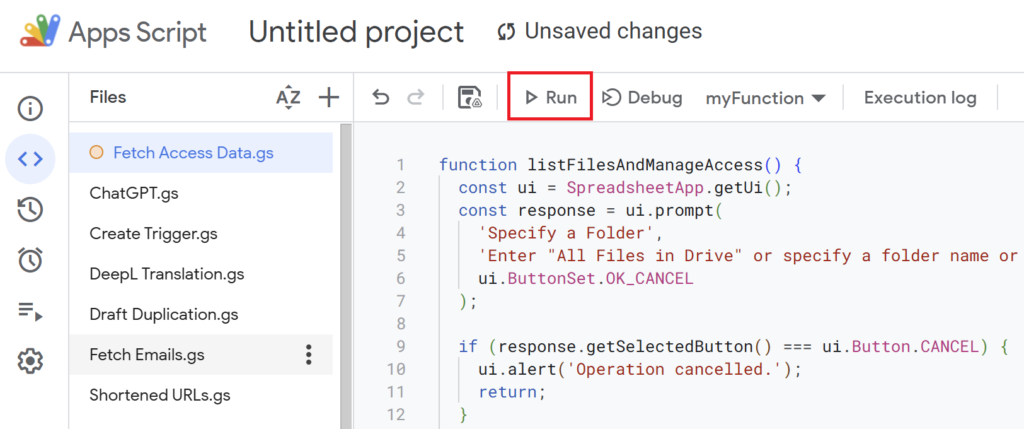
Run the Script
Run the script.
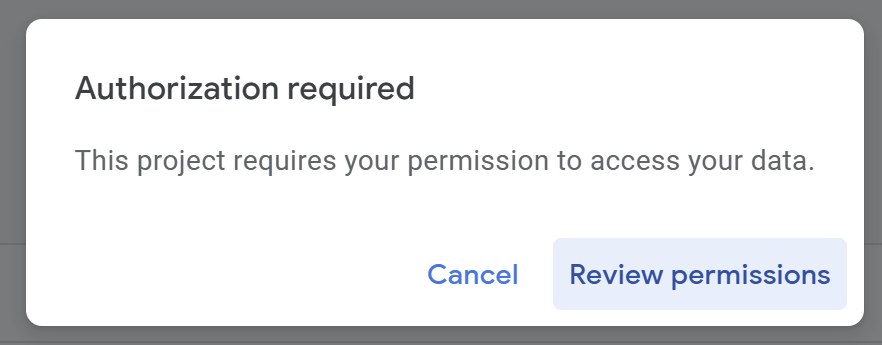
If you’re running the script for the first time, you need to authorize it.
Therefore, press “Review Permissions.“
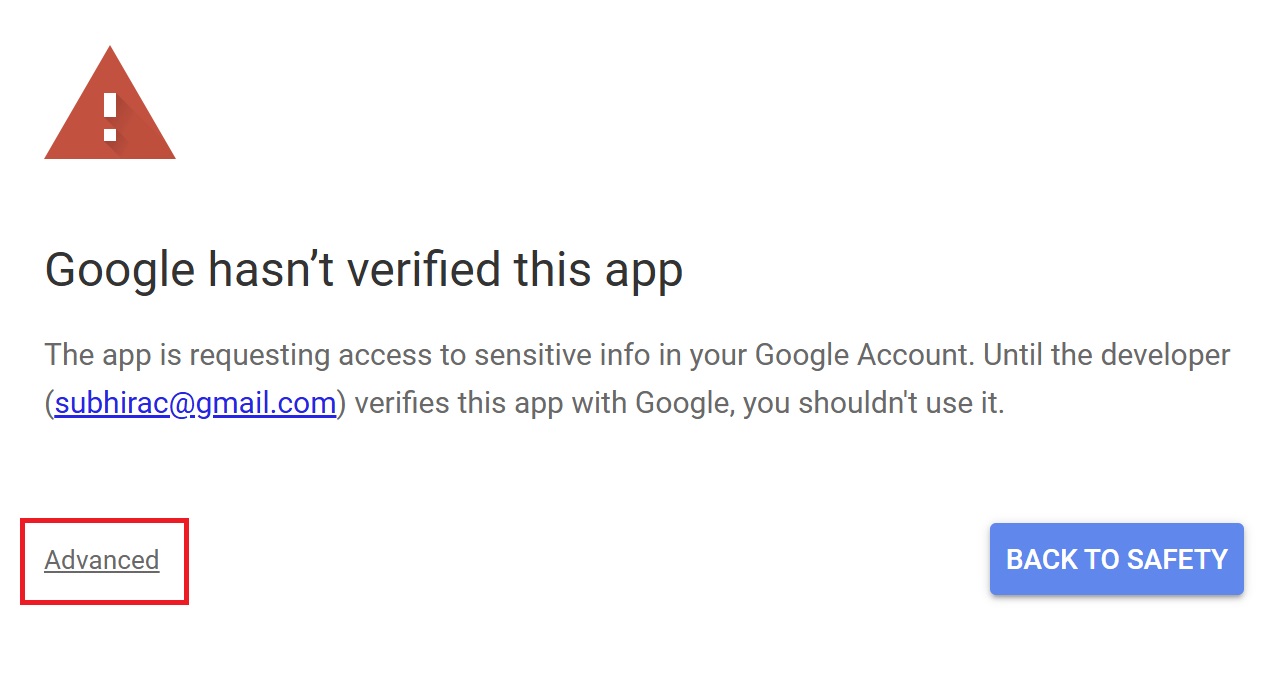
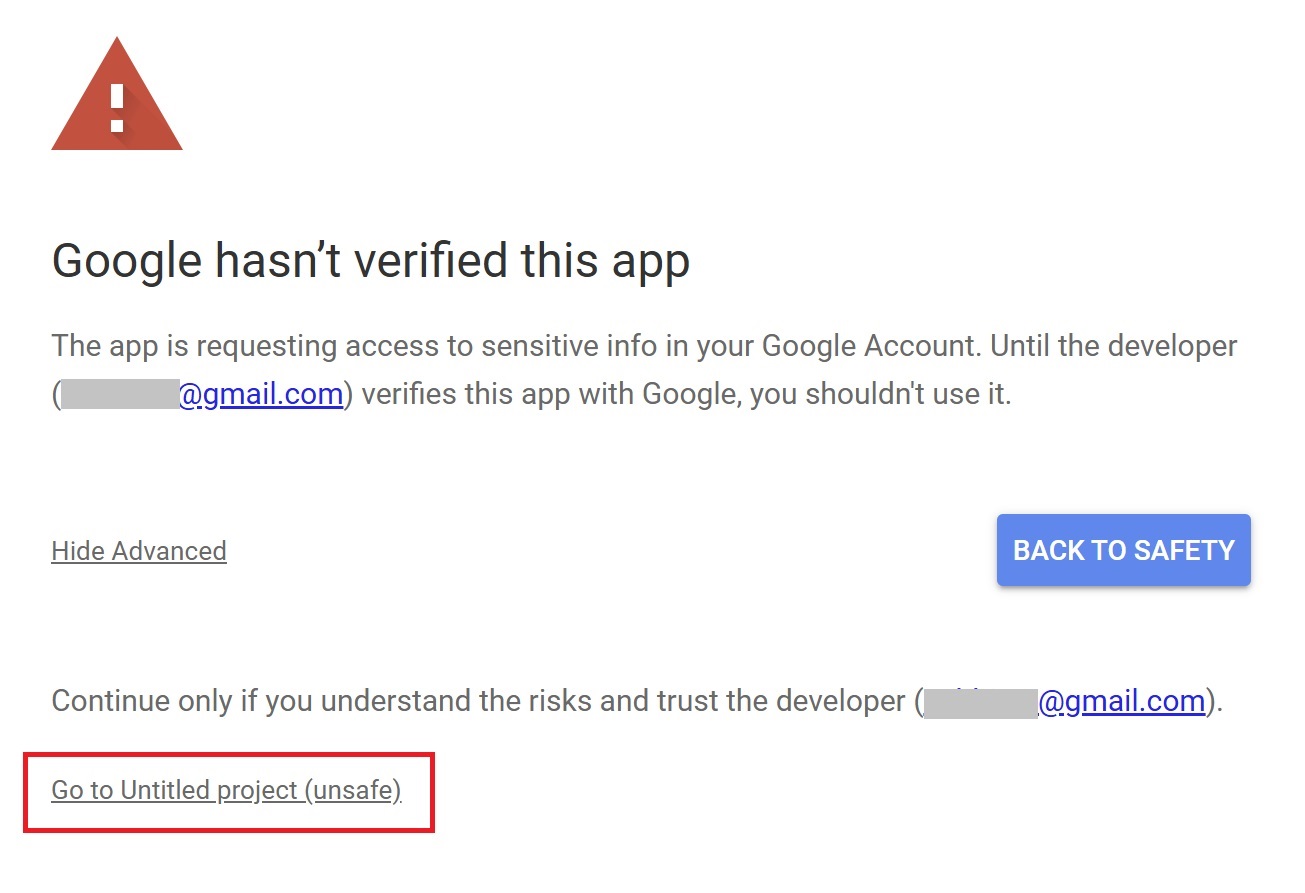
Detailed Authorization Steps
Press “Advanced.”
Press “Go to Untitled project (Unsafe).”
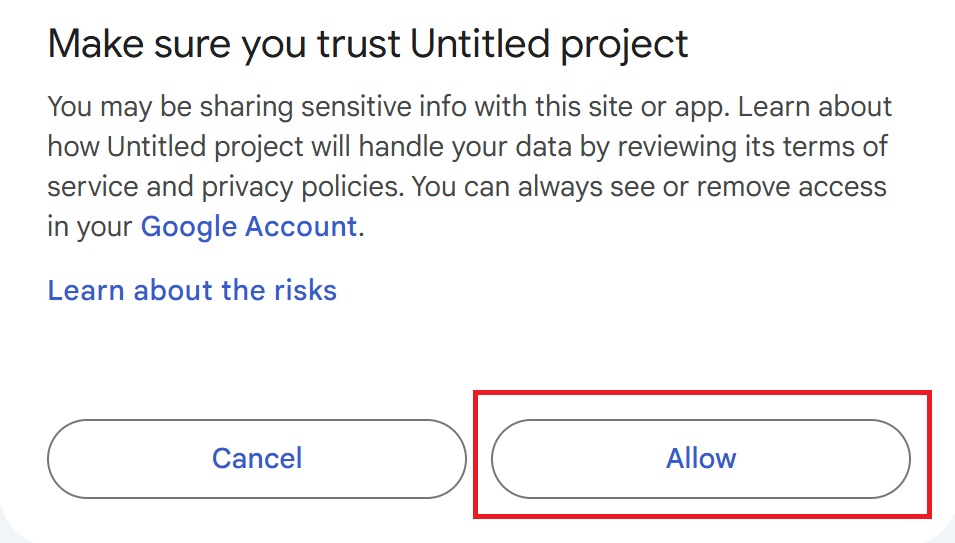
After that, press “Allow.”
STEP
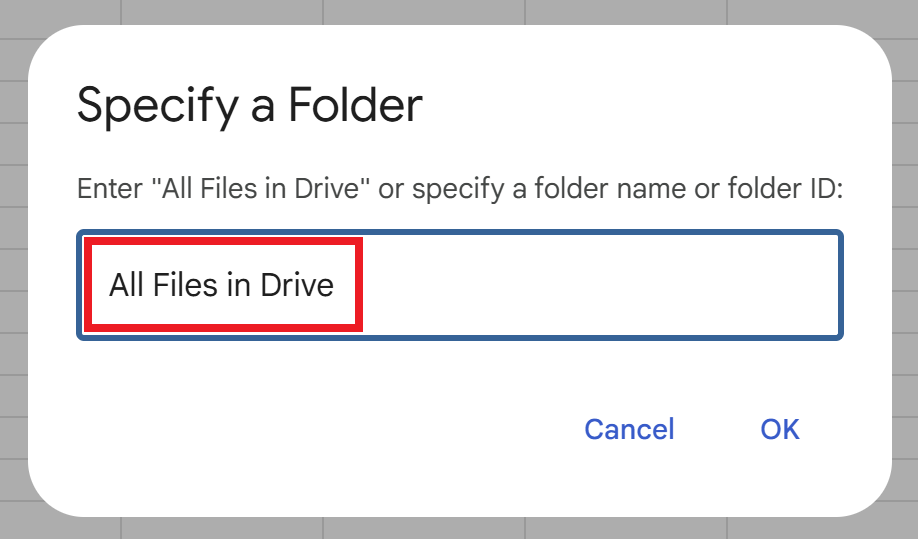
“All Files in Drive” or Specify a Folder
When the script is executed, a popup will appear first. Here, you can enter either “All Files in Drive” or a specific folder name or folder ID.
All Files in Drive: Targets all files in your Google Drive.
Specific Folder: Targets only the files within the specified folder.
STEP
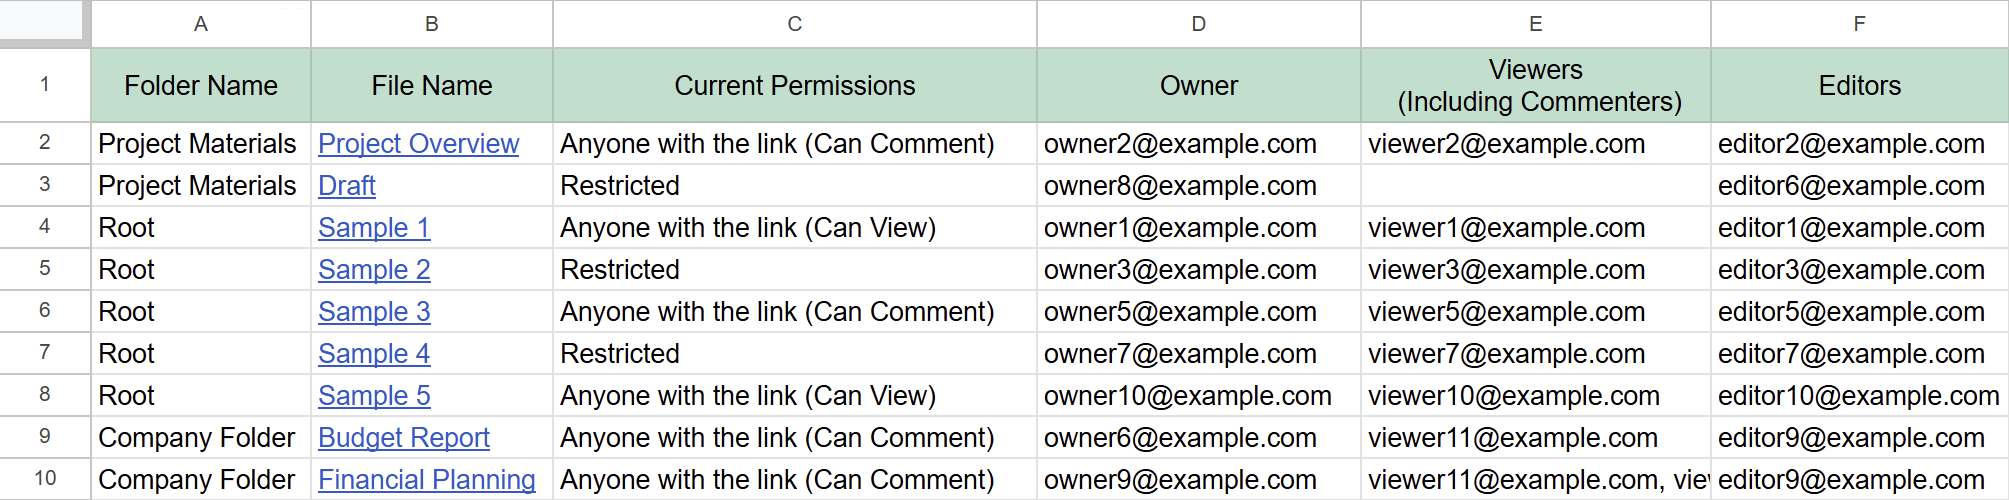
Display Results in the Spreadsheet
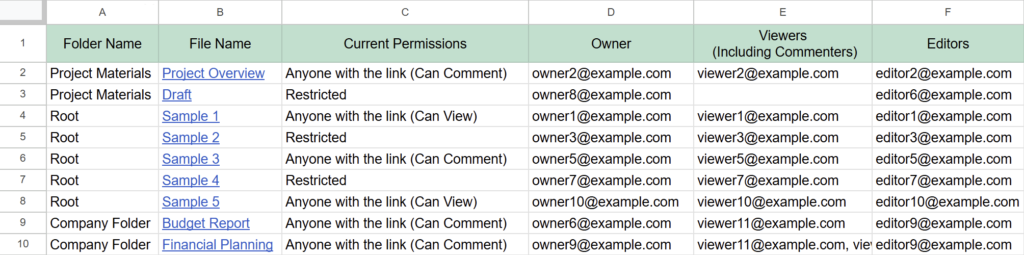
When the script is executed, the access permissions for the specified range of files will be listed in the spreadsheet.
The following details will be displayed:
Output Details
Column A
Folder Name
Column B
File Name
Column C
Current Permissions
Column D
Owner
Column E
Viewers (Including Commenters)
Column F
Editors
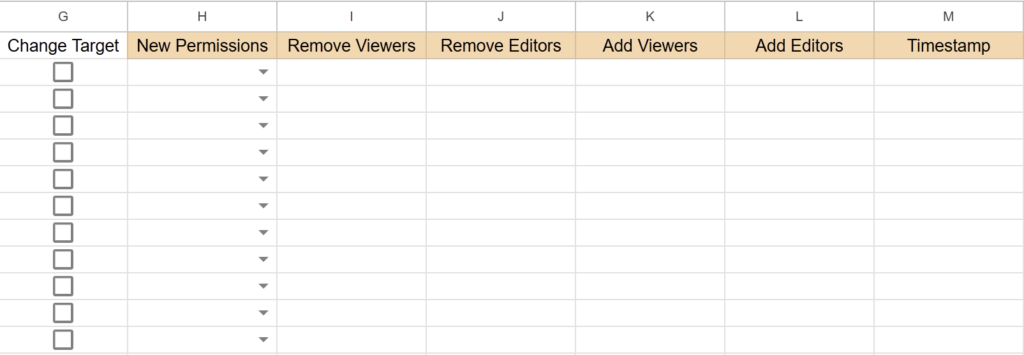
Columns G–M Display Headers.
Additionally, checkboxes will be added to Column G (“Change Target”).
With this setup, the spreadsheet is now ready for batch permission modifications.
Notes
Script Execution Time
Google Apps Script has a 6-minute execution limit. If you have a large number of files in your Drive, it’s recommended to execute the script on a folder-by-folder basis.
(If there are more than 300 files, the script might stop midway.)
Exclusion of Ownership Transfer
This script does not include the ability to transfer file ownership. To transfer ownership, you will need to use the Google Drive API or perform the change manually.
Combining “Viewers” and “Viewers (Including Commenters)” in One Column
For restricted permissions, there are two options: “Viewers” and “Viewers (Including Commenters)”. In this spreadsheet, both are displayed in a single column for simplicity.
While individual management is possible using the Google Drive API, this script simplifies the operation by consolidating these permissions into one column.
Conclusion
With this Google Apps Script, you can gain a clear understanding of file access permissions, either on a folder-by-folder basis or across your entire Google Drive.
In the next article, we will introduce how to use this retrieved information to batch modify file access permissions in Google Drive.
This will make it easier to adjust permissions efficiently and effectively.
Our company offers support for improving work efficiency through the use of Google Apps Script. If you need assistance with Google Apps Script customization or error resolution, please feel free to contact us. We are fully committed to supporting your business improvements.