How to Create QR Codes in Google Sheets Using a Chrome Extension

In Google Sheets, QR codes can be easily created not only by using formulas but also by utilizing extensions.
In this article, we will introduce how to create QR codes using a Chrome extension.
This method is useful if you want to save the generated QR codes to Google Drive.

Example Output
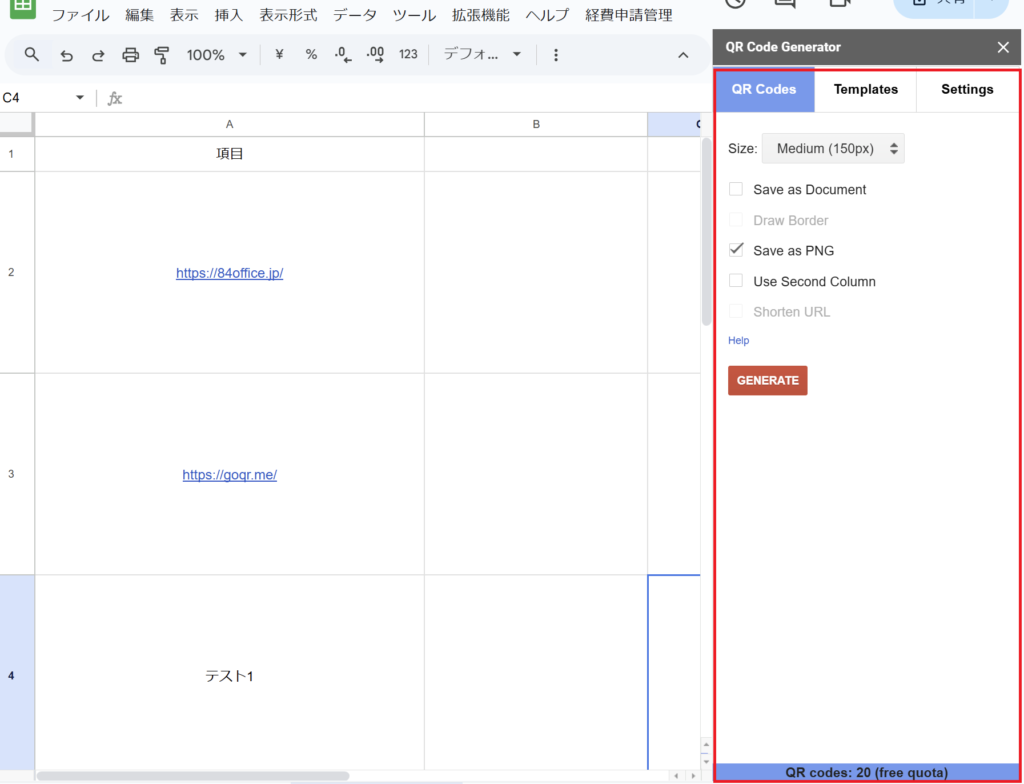

Select the cell containing the data you want to convert into a QR code.
Choose the size and file format for the QR code, then generate it.
Save the QR codes in bulk to Google Drive.
The extension to use is “QR Code Generator.”
“QR Code Generator” is an extension that allows you to easily create QR codes in Google Sheets.
You can generate QR codes based on data such as URLs and text.
It is characterized by its intuitive interface, requiring no complex setup.
It is a convenient extension available for free, but there are the following usage limitations:
- You can create up to 20 QR codes at a time.
- After creating 20 QR codes consecutively, a waiting period of 1 hour is required.
- By upgrading to a paid plan, the limitations can be removed.
How to Install the Extension

Open any Google Spreadsheet of your choice.
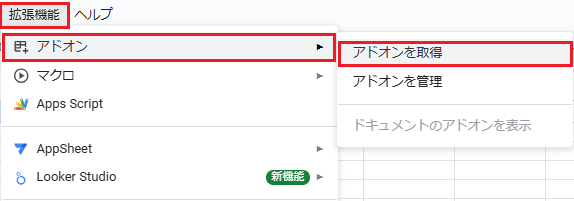
Click on “Extensions” in the top menu > “Add-ons” > “Get add-ons”.
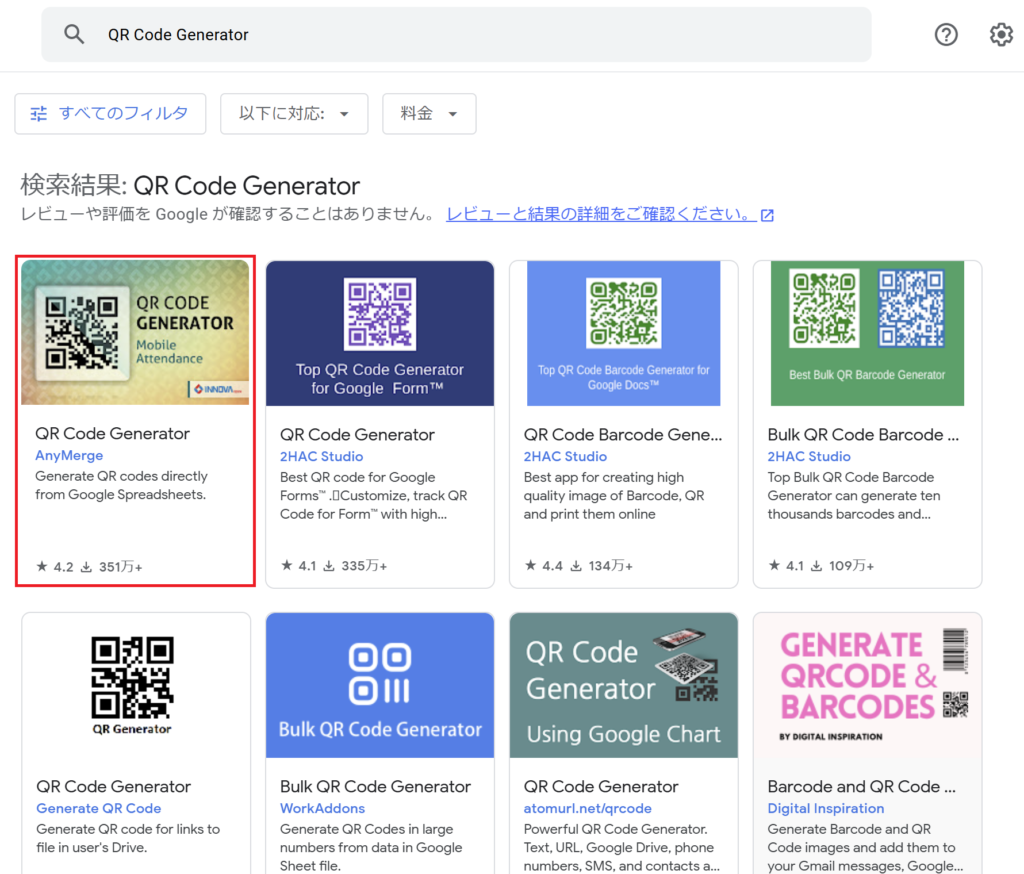
Type “QR Code Generator” into the search bar and select the desired extension.
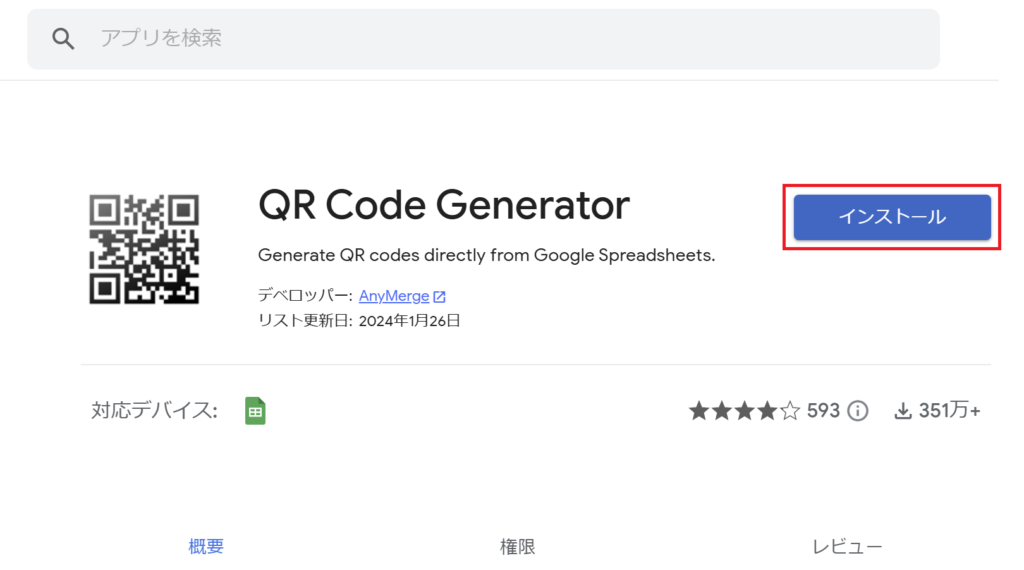
Click the “Install” button and authenticate with your Google account.
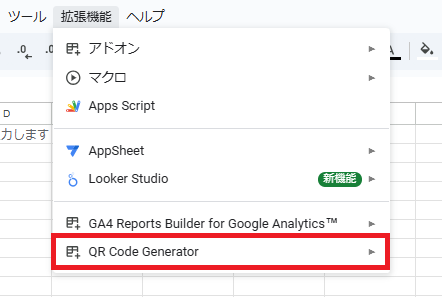
Once the installation is complete, it will be added to the Extensions menu.
QR Code Creation Steps
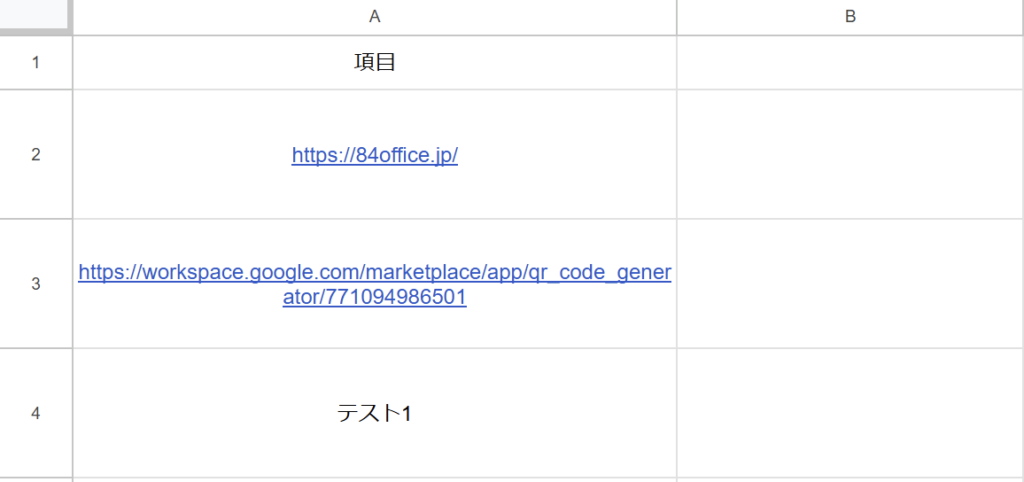
Enter the data you want to convert into a QR code (e.g., URL, text) into any cell.
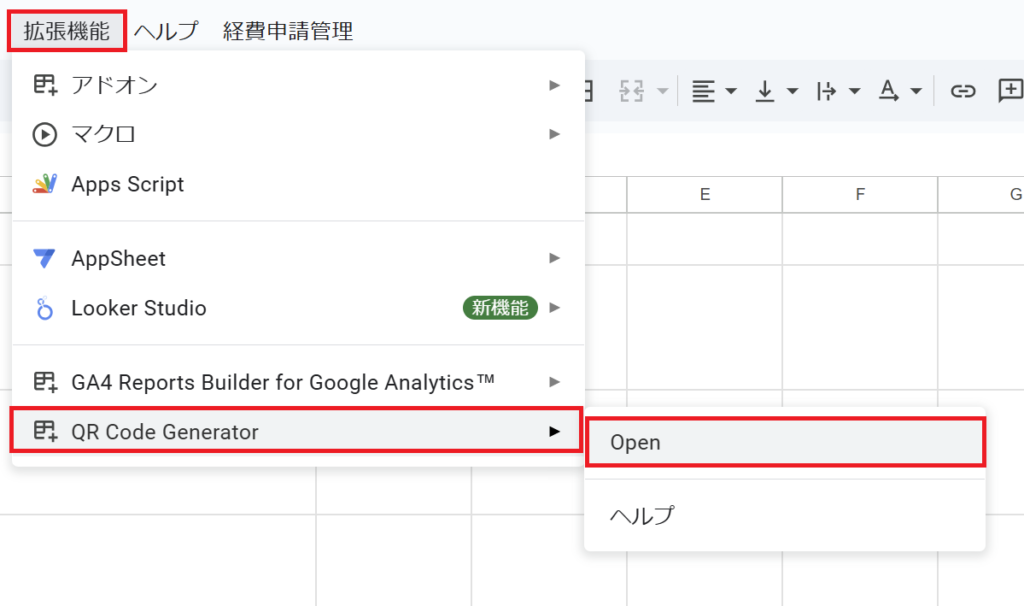
Select and launch the installed extension from the menu.
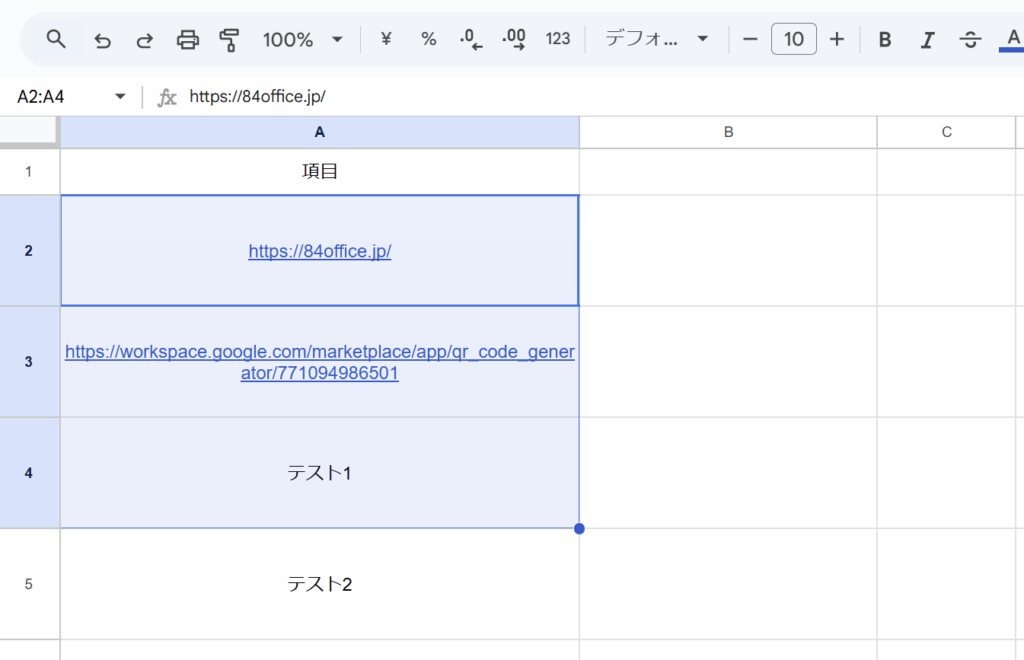
Select the cell that you want to convert into a QR code.
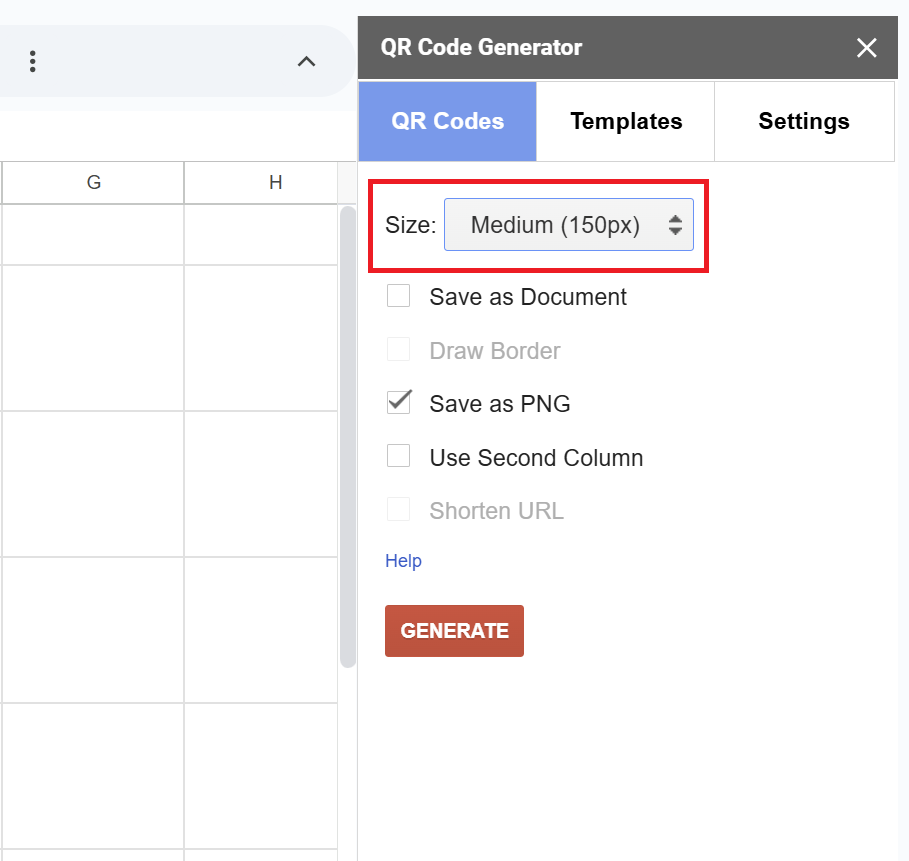
Select the size of the QR code from the dropdown menu.
- Tiny(60px)
- Small (100px)
- Medium (150px)
- Large (200px)
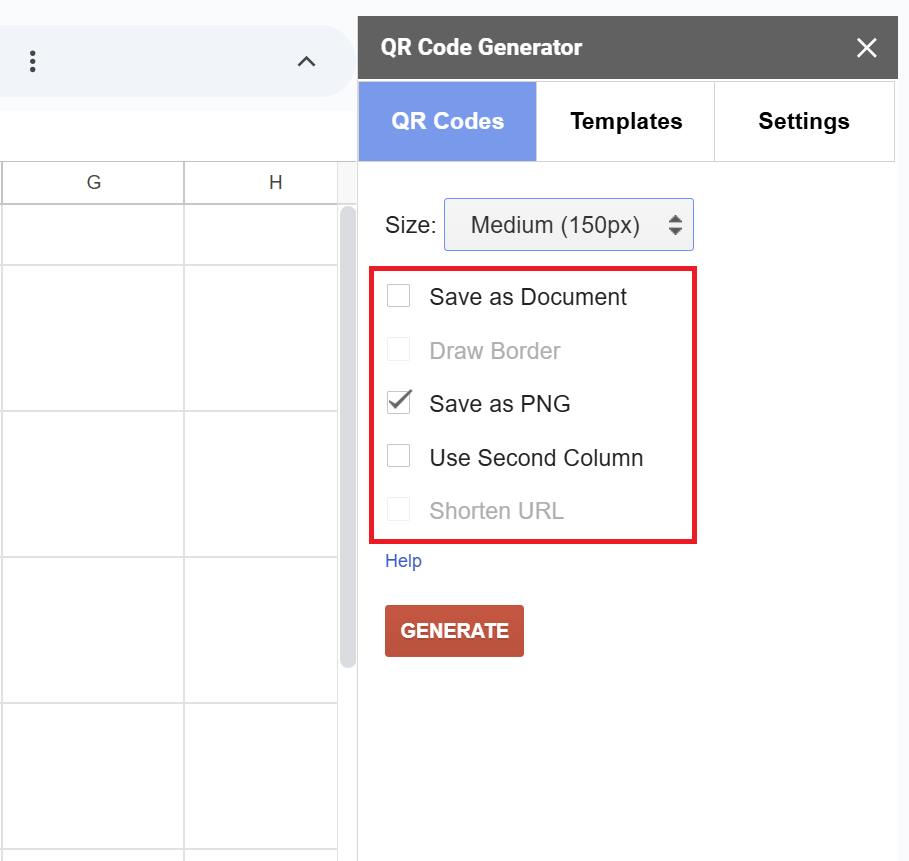
Check the box for your desired file format.
Choosing the document format allows the QR codes to be saved together in a single file, making it easier to manage.
The PNG format is highly versatile and can be used both digitally and for printing.
- Save as Document
-
Select this option if you want to save the QR code as a Google Document.
- Save as PNG
-
The QR code will be saved as an image (PNG file) in Google Drive.
- Use Second Column
-
Select the range of two adjacent cells or two columns.
The value in the first column will be displayed as a QR code, and the value in the second column will be displayed below the QR code.
Other Options
- Draw Border
-
Add a border to the QR code.
- Shorten URL
-
If the URL is long, selecting this option will generate the QR code using a shortened URL.
To use this option, a Bitly access token is required.
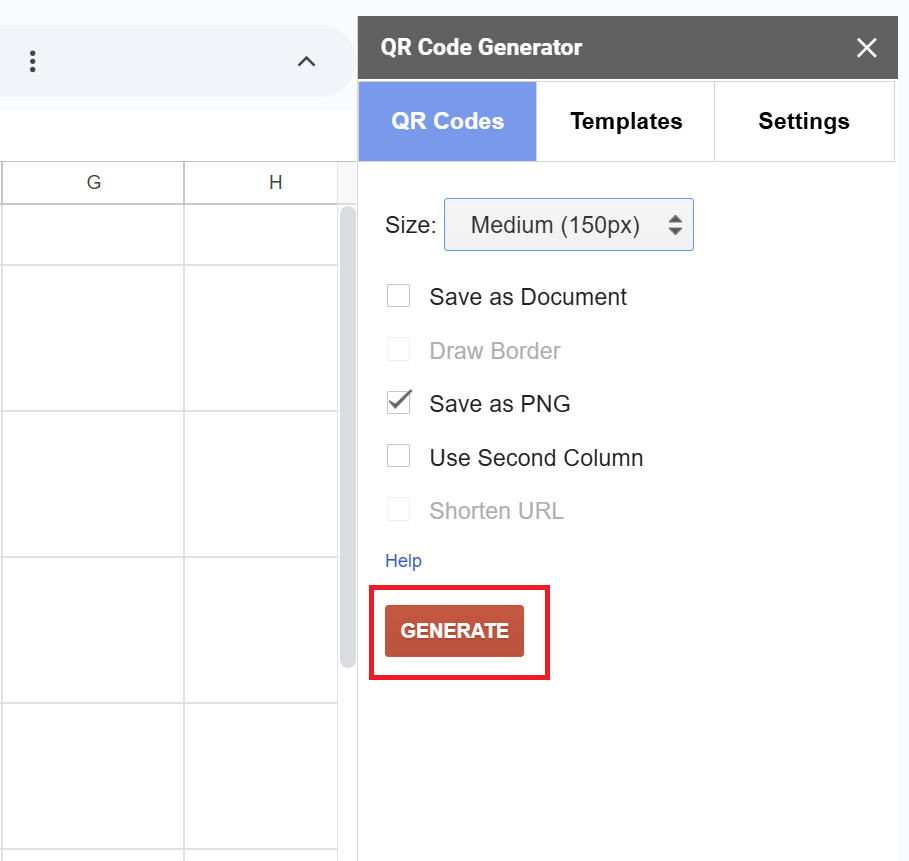
Once you have completed the necessary settings, click the “GENERATE” button.

The QR code will be saved to Google Drive.

Summary
Creating QR codes with the extension is easy once the initial installation is complete.
Some extensions allow for design adjustments, making them ideal for those who prioritize customization.
By utilizing these tools, you can streamline your daily operations and marketing activities.

Our company offers support for improving work efficiency through the use of Google Apps Script.
If you need assistance with Google Apps Script customization or error resolution, please feel free to contact us.
We are fully committed to supporting your business improvements.
Contact us here




Comments